Eclipse


The Eclipse Workbench is an open source platform, designed by IBM and released to the open source community. It is an open, portable, universal tooling platform that provides frameworks, services and tools for building tools.

In essence the workbench provides the tool infrastructure. With this infrastructure in place, the tool builders are able to focus on the actual building of their tools. The workbench has been designed for maximum flexibility to support the development of tools for new technologies that may merge in the future.

Industry leaders Borland, IBM, Merchant, QNX Software Systems, Rational Software, RedHat, SuSE, TogetherSoft, and WebGain formed the initial eclipse.org board of directors and began work on the Eclipse open source project.

More information about The Eclipse Workbench can be found at:
http://www.eclipse.org

Eclipse FAQ can be found at:
http://wiki.eclipse.org/index.php/Eclipse_FAQs

The latest Eclipse version can be downloaded from: http://www.eclipse.org/downloads/

There are hundreds of plugins which you can add to Eclipse, for example plugins for testing, code management, uml, xml, etc. The Eclipse plugins can be found at: http://www.eclipseplugincentral.com/


Create an Android application on Eclipse


Information
none

Operating system used
Windows Vista Home Premium SP 1

Software prerequisites
Eclipse 3.4 (Ganymede)
Android 1.1 SDK r1

Procedure
  1. Start Eclipse.

  2. Select menu: File | New | Project

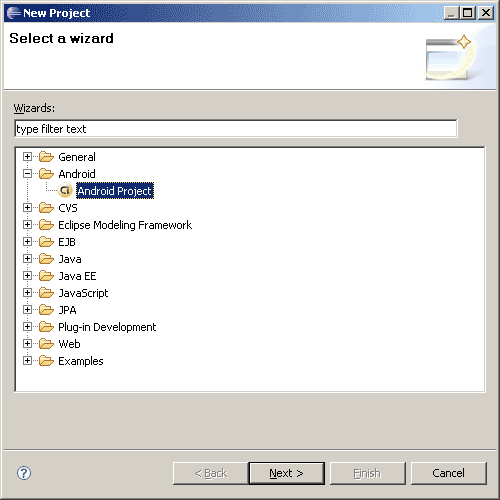
  3. Expand folder Android, select "Android Project" and press Next button.

    Select Android Project

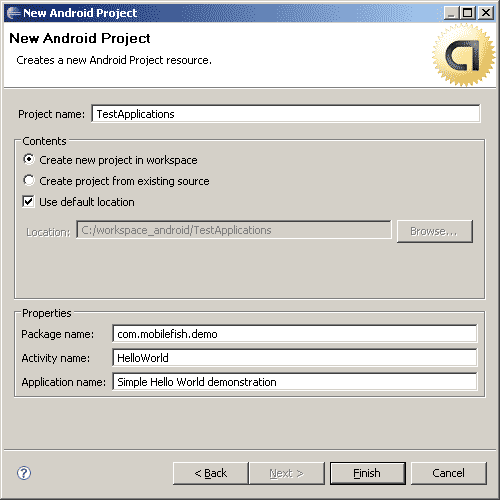
  4. Create a new Android Project resource, enter:

    Project name: TestApplications
    Package name: com.mobilefish.demo
    Activity name: HelloWorld
    Application name: Simple Hello World demonstration

    Press Finish button.

    Create new Android Project resource

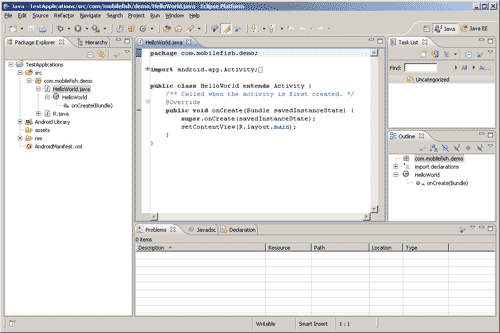
  5. In the "Package Explorer" tab, the project TestApplications is created.
    Expand this project, the src folder and package com.mobilefish.demo.

    Create TestApplications project

  6. Double click HelloWorld.java and change the source code:

    package com.mobilefish.demo;

    import android.app.Activity;
    import android.os.Bundle;
    import android.widget.TextView;

    public class HelloWorld extends Activity {
       /** Called when the activity is first created. */
       @Override
       public void onCreate(Bundle savedInstanceState) {
          super.onCreate(savedInstanceState);
          TextView tv = new TextView(this);
          tv.setText("Hello, Android");
          setContentView(tv);
       }
    }


  7. Press CTRL+S to save HelloWorld.java.

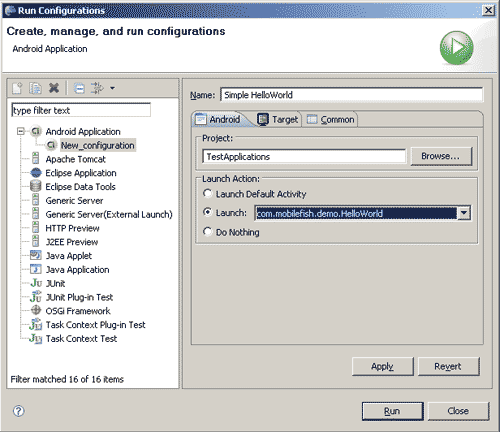
  8. In the menu select: Run | Run Configurations....


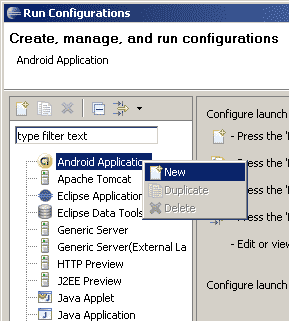
  9. Right click "Android Applications" and select New.

    Create Run Configuration

  10. Enter the Run Configurations information in tab Android:

    Name: Simple HelloWorld
    Project: TestApplications
    Launch: com.mobilefish.com.demo.HelloWorld

    Press Apply and Run button.

    Enter Run Configurations information

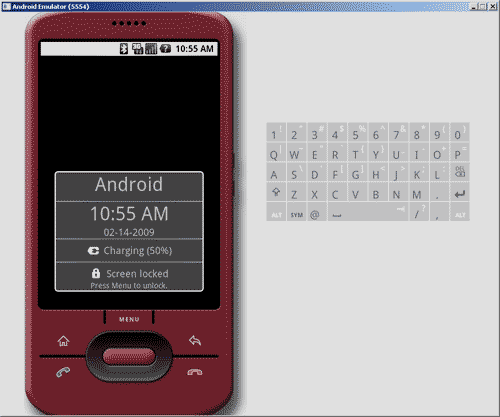
  11. The Emulator windows opens, wait until you see the following screen:

    Emulator window opens

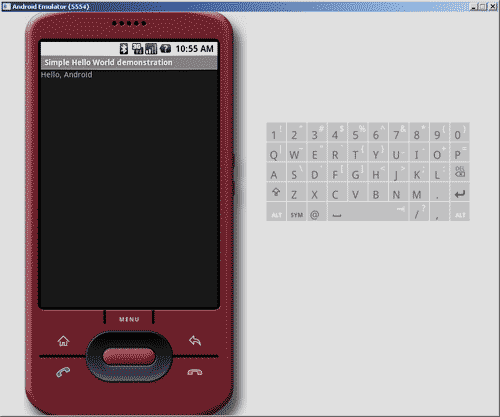
  12. When the screen above is displayed, press the device Menu key.
    The message "Hello, Android" is displayed.

    The HelloWorld application is displayed

  13. Close the Emulator window. To Run the application, press the Run button.

    Run the application