Installing BitComet 0.87
Information
none
Operating system used
Windows XP Home Edition Version 5.1 SP 2
Software prerequisites
none
Procedure
- Before you start installing BitComet, you need to determine which free portnumber you can use.
- A list of well known portnumbers can be found at:
http://www.iana.org/assignments/port-numbers
More information about portnumbers can be found at:
http://en.wikipedia.org/wiki/List_of_TCP_and_UDP_port_numbers
Do NOT use any of these well known portnumbers.
It is recommended to use a portnumber in the range 49152-65535.
These ports are not used by any defined application.
- In this tutorial portnumber 13766 will be used. To check if your Windows environment
does not use this portnumber, open a DOS window and type:
netstat -a
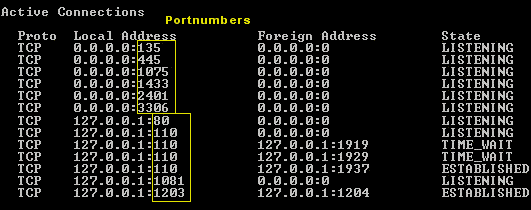
Using command netstat -a does not give you 100% guarantee that this portnumber
is not used by any of your applications on your computer.
- Download BitComet_0.87_setup.exe and run this program.
- Select your language.
- Close all other applications and press Next button.

- Read license agreement and press I Agree button.
- Read privacy policy and press I Agree button.
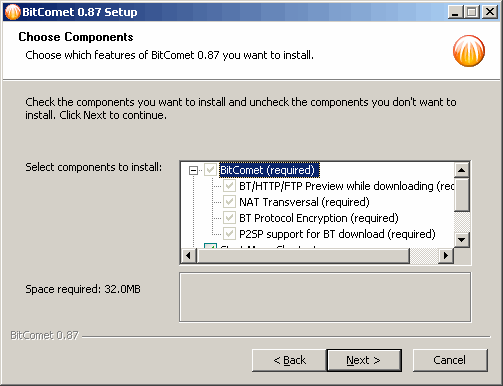
- Choose which features of BitComet you want to install.
In this guide we just leave all settings as is. Press Next button.
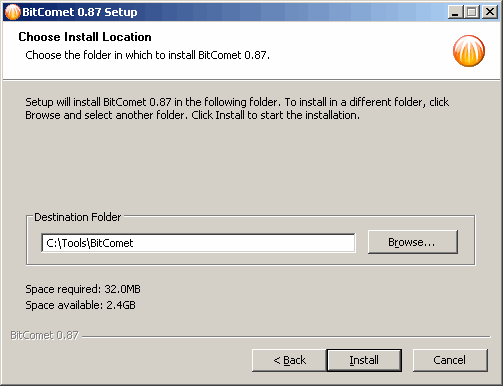
- Enter the location where to install BitComet.
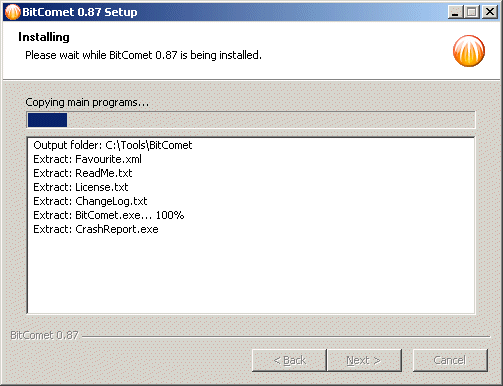
- BitComet is installing.
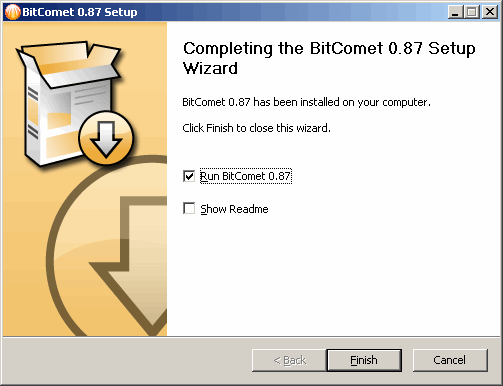
- Press Finish button to close the wizard.
- BitComet is started.
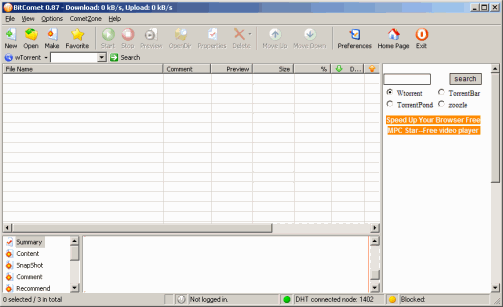
- You can skip this step. This is just a personal preference.
- Disable Floating Window.
Select menu: View | Floating Window
- Disable Recommend Window.
Select menu: View | Recommend Window
- Select menu: Options | Preferences
Select Connection.
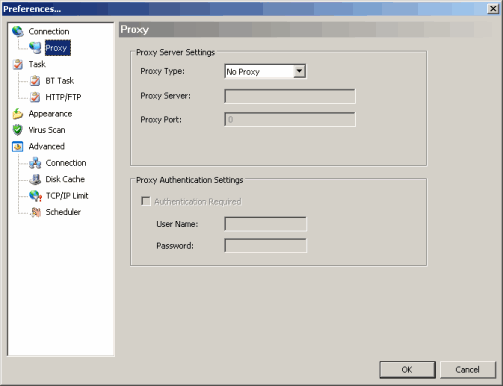
- Select Connection | Proxy.
BitComet is usually installed at home without using a proxy.
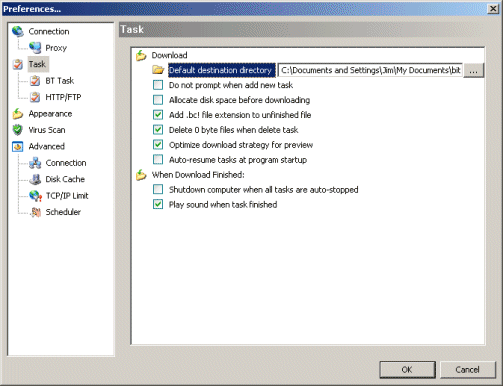
- Select Task.
Specify the Default destination directory.
For example: C:\Documents and Settings\Jim\My Documents\bitcomet
This is the directory where the downloaded files are stored and where other BitComet users
can download files from.
- Select Advanced | Connection.
Select the options as displayed in the screenshot.
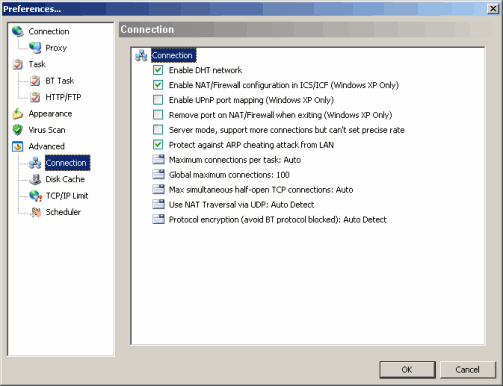
Press the OK button to finish changing the preferences.
- Now BitComet is setup to download .torrent files.
A site where you can download legal torrents can be found at:
http://www.legaltorrents.com
- If you find a torrent file, the URL looks something like this:
http://www.legaltorrents.com/bit/blue-a-short-film.torrent
- Click the torrent link and a Task Properties window will open.
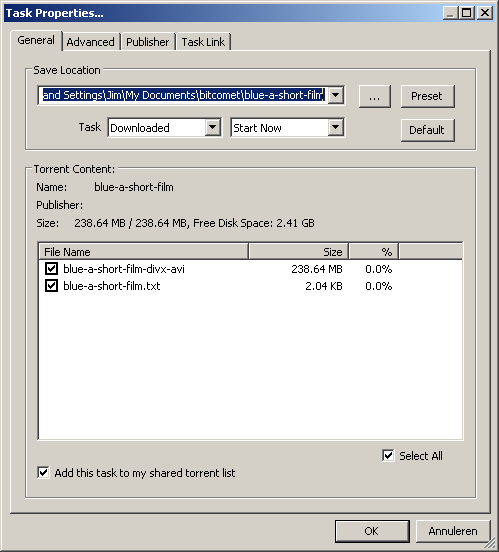
- Click the OK button
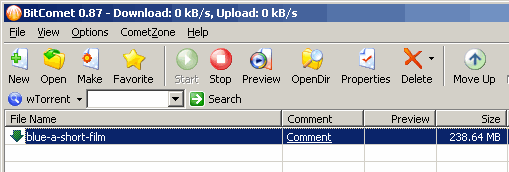
- After the file is downloaded you can find it at the
Default destination directory.
In this example: C:\Documents and Settings\Jim\My Documents\bitcomet
Note: Files which are not downloaded completely will have the file extension .bc!
|
