ADSL installation.
Information
The information below is based on the situation in the Netherlands where you have a
phone line entering your home and you want to install ADSL using this line.
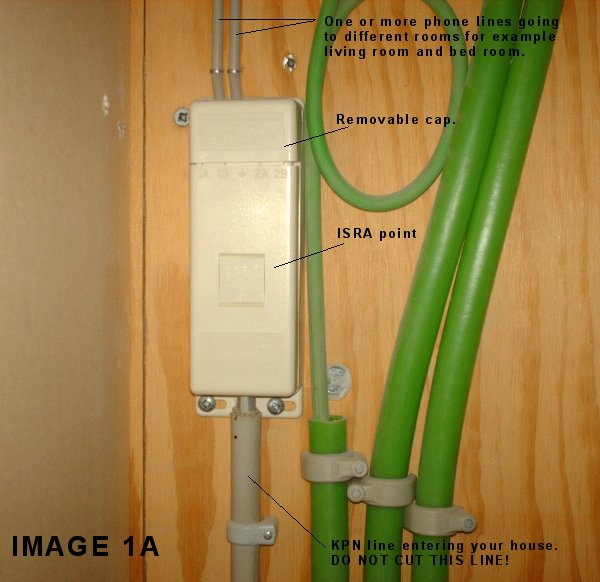
- First locate where the phone line enters your home (also known as ISRA point),
it is often the same location where your gas meter, water meter and electricity meter is located.
Usually the meter cupboard.
Note: ISRA is a dutch abbreviation for InfraStructuur RandApparatuur.
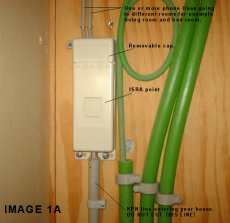
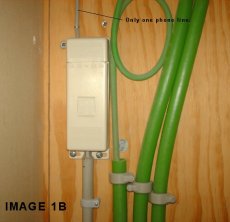
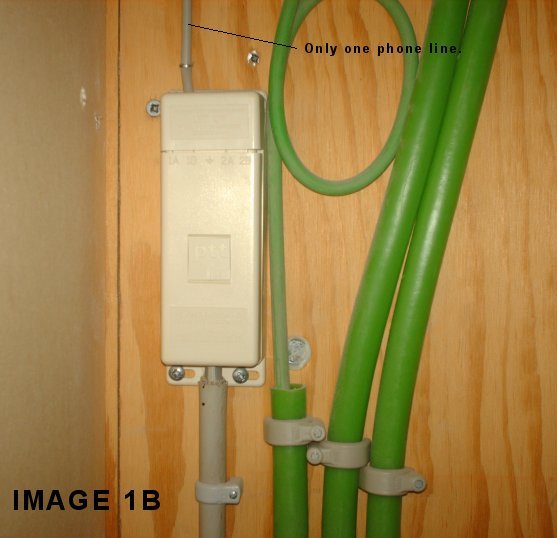
- Above the ISRA point one (see: IMAGE 1B) or more phone lines (see: IMAGE 1A) can be found.
Each line goes to different rooms in your house for example, to your living room and bed room.
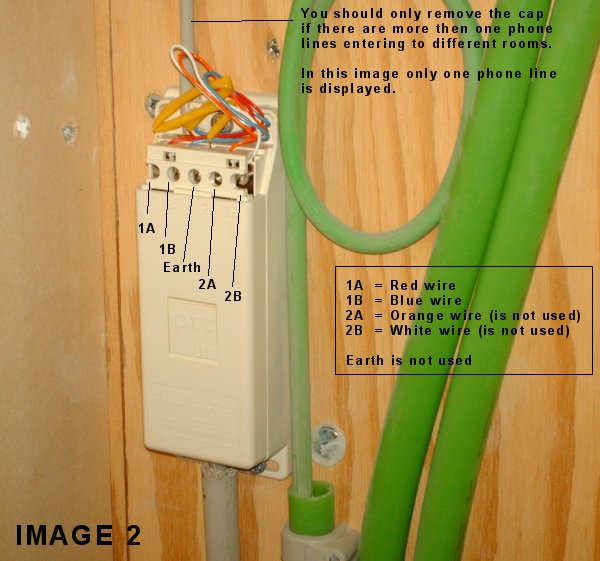
- If there are more then one phone lines going to different rooms remove the ISRA point cap and write down
the wire colors and its location in the ISRA point in case you
need to put things back in its original situation.
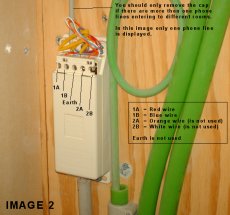
- Unscrew 1A, 1B, Earth, 2A and 2B and remove the wires, do not cut the wires!
- Mount a phone wall socket and splitter in the meter cupboard.
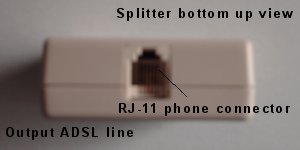
An example of a splitter.
The splitter is usually provided by ADSL provider together with
the ADSL modem in the do-it-yourself kit.

More screenshots of the splitter:
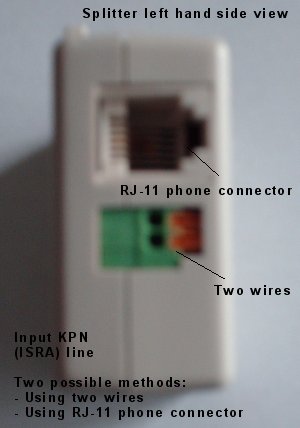
Splitter left hand side view
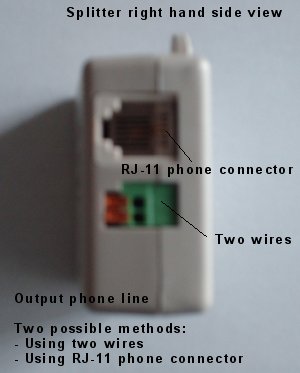
Splitter right hand side view
Splitter bottom up view
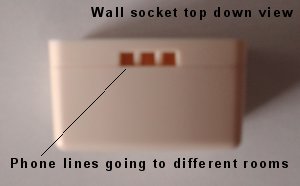
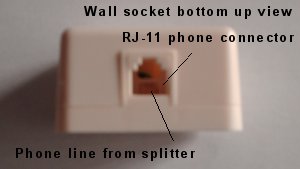
An example of a phone wall socket.
The phone wall socket is usually provided by ADSL provider together with
the ADSL modem in the do-it-yourself kit.
More screenshots of the splitter:
Wall socket top down view
Wall socket bottom up view
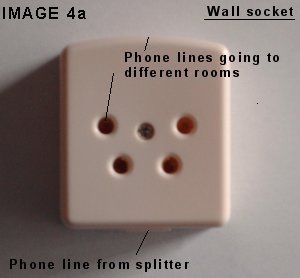
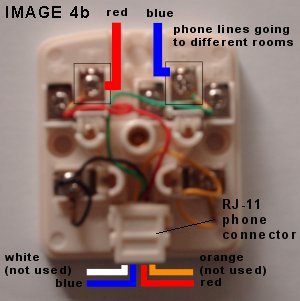
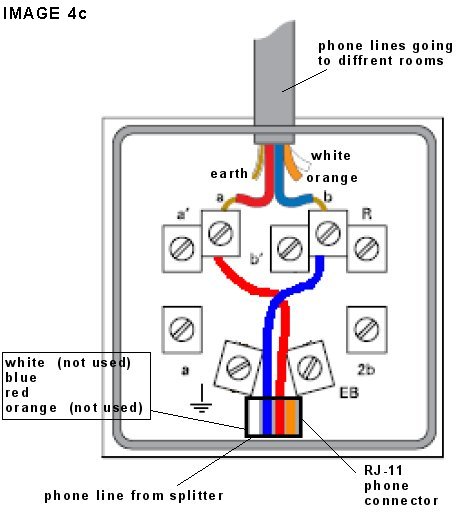
- Connect the phone lines going to different rooms (see IMAGE 2) to the phone wall socket.
Connect only the red and blue wires (see IMAGE 4b and 4c). The other wires (orange, white and earth) are not used.
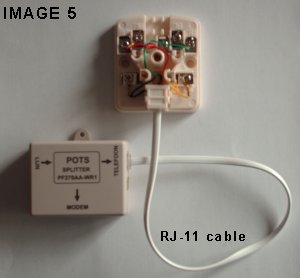
- Use an RJ-11 cable to connect both the splitter and the phone wall socket (see IMAGE 5).
THIS TUTORIAL IS NOT FINISHED!
|