ImageMagick is a software suite to create, edit, and compose bitmap images.
It can read, convert and write images in a variety of formats (about 100) including
GIF, ICO, PNG, BMP, JPG and JPEG.
Use ImageMagick to translate, flip, mirror, rotate, scale, shear and transform images,
adjust image colors, apply various special effects, or draw text, lines, polygons,
ellipses and Bézier curves.
ImageMagick is free software delivered as a ready-to-run binary distribution
or as source code that can be freely used, copied, modified and distributed.
Its license is compatible with the GPL. It runs on all major operating systems.
More information about ImageMagick can be found at:
http://www.imagemagick.org
Installing ImageMagick 6.2.9 on Windows XP
Information
none
Operating system used
Windows XP Home Edition Version 5.1 SP 2
Software prerequisites
ActivePerl v5.8.4 or higher
Procedure
- Download the Windows binary release "ImageMagick-6.2.9-7-Q16-windows-dll.exe"
at http://www.imagemagick.org/script/binary-releases.php#windows
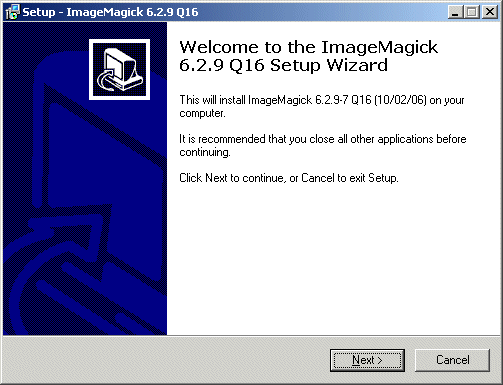
- Double click ImageMagick-6.2.9-7-Q16-windows-dll.exe and press Next button.
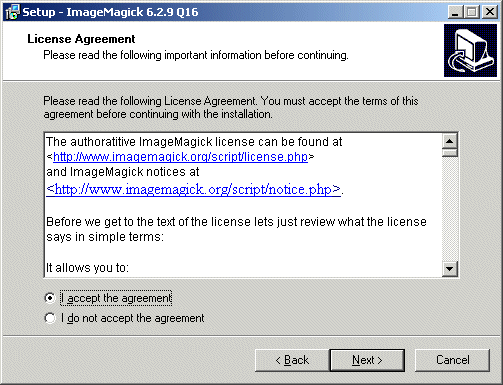
- Select I accept and press Next button.
- Read the information and press Next button.
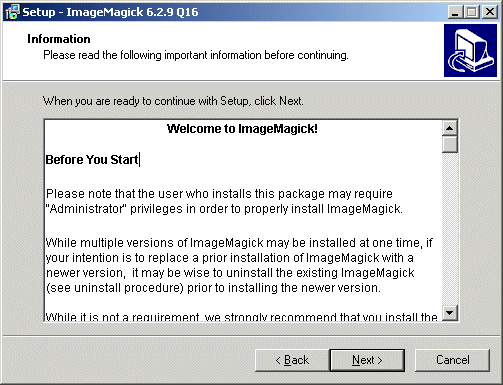
Because this information is important, it is shown below:
Welcome to ImageMagick!
Before You Start
Please note that the user who installs this package may require "Administrator"
privileges in order to properly install ImageMagick.
While multiple versions of ImageMagick may be installed at one time,
if your intention is to replace a prior installation of ImageMagick
with a newer version, it may be wise to uninstall the existing
ImageMagick (see uninstall procedure) prior to installing the newer version.
While it is not a requirement, we strongly recommend that you
install the Ghostscript <http://www.cs.wisc.edu/~ghost/> package.
ImageMagick utilizes Ghostscript to render Postscript and PDF files,
as well as formats where a translator to Postscript is available.
ImageMagick also uses the fonts delivered with Ghostscript to support
the standard set of Adobe Postscript fonts like "Helvetica" and "Times Roman".
The installation package includes the ImageMagick Perl extension
( PerlMagick <http://www.imagemagick.org/script/perl-magick.php>) as an
installation option. If you would like to use this extension, then you must
install ActiveState ActivePerl <http://www.activestate.com/Products/ActivePerl/Download.html>
prior to commencing with installation of ImageMagick.
Installation Steps
The following describes the steps remaining to install ImageMagick.
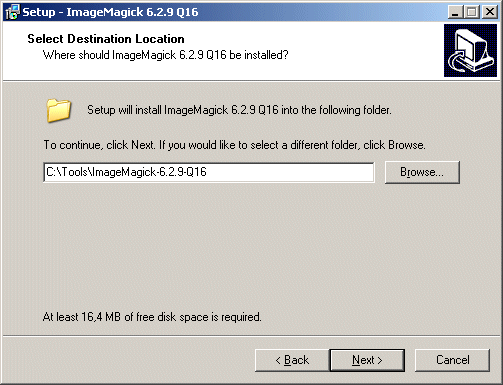
Select Destination Directory
Specify what drive and directory to install ImageMagick into.
Approximately 15MB of free disk space is required to install all of
ImageMagick (you may choose to install a subset to save space).
A message at the bottom of the screen will tell you exactly how
much space is required to install the complete package. The default
installation directory is similar to "C:\Program Files\ImageMagick-6.?.?."
Once you have entered the desired installation directory, then select "Next>" to continue.
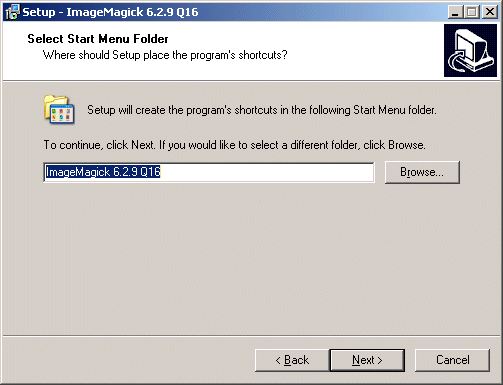
Select Start Menu Folder
Select the folder where you would like the program's shortcuts to appear.
The default should normally be satisfactory. Click on "Next>" to continue.
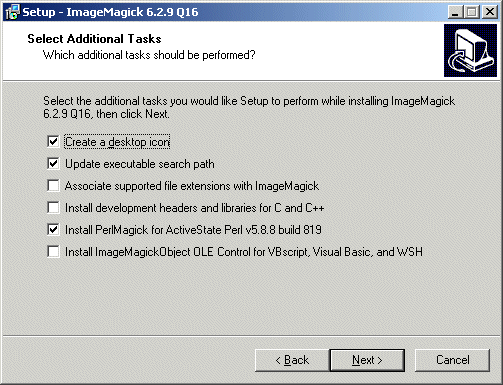
Select Additional Tasks
A screen is displayed which presents most (or all) of the following options:
- Create a desktop icon
- Update executable search path
- Associate supported file extensions with ImageMagick
- Install development headers and libraries for C and C++
- Install PerlMagick for ActiveState Perl v5.8.4 build 811
- Install ImageMagickObject OLE Control for VBscript, Visual Basic, and WSH.
"Creating a desktop icon" and "Update the executable search path" are selected by default.
The remaining options default to un-selected. Select the options you prefer.
Think twice before selecting "Associate supported file extensions with ImageMagick" since
this will set up approximately fifty file associations, including common formats like
JPEG, GIF, PNG, TIFF, and PDF. These file associations will be to the 'display' program
which is suitable for displaying images, but currently offers little more than that.
Windows XP seems to handle the file assocations pretty well, allowing you to choose
from a list of programs, but older systems like Windows NT 4.0 and Windows '98 only
support a single association per format, which can be quite annoying. Associations
for ImageMagick's native formats (such as MIFF) will always be made.
Once you have made your selections, click on "Next>" to continue.
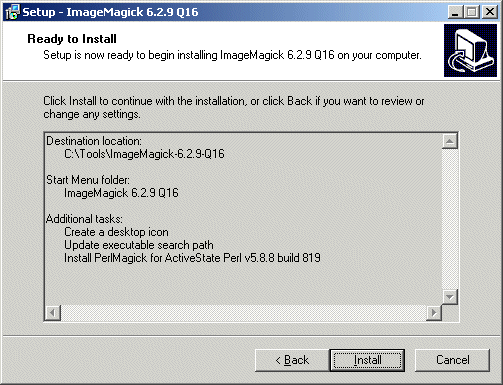
Ready to Install
A screen is displayed which displays the selected options. If you are not satisfied
with a selected option, then click on "<Back" to go back to a previous screen
so that the option may be adjusted. If you are satisfied with the options and are
ready to install, then select "Install". To abort the installation entirely, select "Cancel".
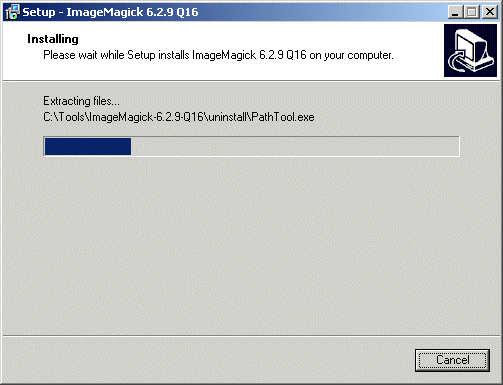
Installation Progress
While the install program is performing the installation, it will display what
it is doing in an installation progress window.
Final Information
A summary of post-install steps is provided. These steps include some commands you can execute to make sure that ImageMagick is working, as well as some notes about what has been installed on your system, and where to find additional information. Once you have read this information, click on "Next>" to continue.
Finishing Up
By default "View ImageMagick.html" is check-marked. This causes the ImageMagick web
pages to be displayed in your web browser when "Finish" is selected. If you do
not want to view the web pages, then de-select "View ImageMagick.html". Select "Finish"
to exit the installation program.
Under Windows '98 it will be necessary to reboot the system in order for some
settings to take effect (such as executable search path) since these are
set in autoexec.bat. Please verify that autoexec.bat is updated correctly.
We have received some reports that the path in autoexec.bat is not always updated correctly.
|
- Select your destination location and press Next button.
- Select your start menu folder and press Next button.
- By default "Create a desktop icon" and "Update executable search path" are selected.
I have selected "Install PerlMagick for ActiveState Perl v5.8.8 build 819".
Only select this if you have ALREADY installed ActiveState Perl.
More information see guide:
Installing ActivePerl v5.8.4 (build 810)
Press Next button.
- Press Install button.
- ImageMagick is being installed.
- Read the information before continuing.
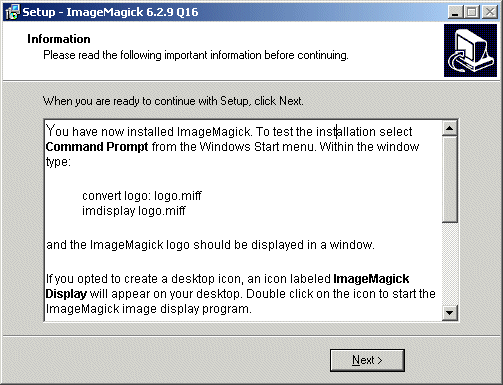
Because this information is important, it is shown below:
You have now installed ImageMagick.
To test the installation select
Command Prompt from the Windows Start menu.
Within the window type:
convert logo: logo.miff
imdisplay logo.miff
and the ImageMagick logo should be displayed in a window.
If you opted to create a desktop icon, an icon labeled ImageMagick Display
will appear on your desktop. Double click on the icon to start the ImageMagick
image display program.
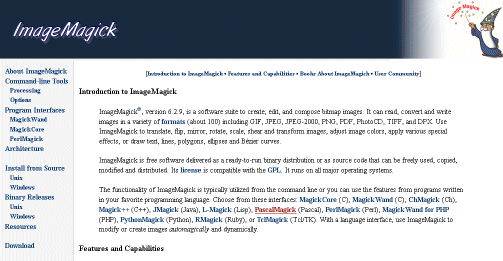
For your convenience, the full content of the ImageMagick web site has been
installed on your computer. This is available from the Windows start menu via
"ImageMagick 6.?.?" -> "ImageMagick Web Pages".
For C and C++ developers who would like to be able to use the DLLs provided
with this package, link libraries and header files are provide in the 'lib'
and 'include' subdirectories of the installation directory. Demonstration
project files and source files for Magick++ may be found in the Magick++_Demo
subdirectory. Build these via the Magick++_Demo.dsw workspace file.
|
- Press Finish button.
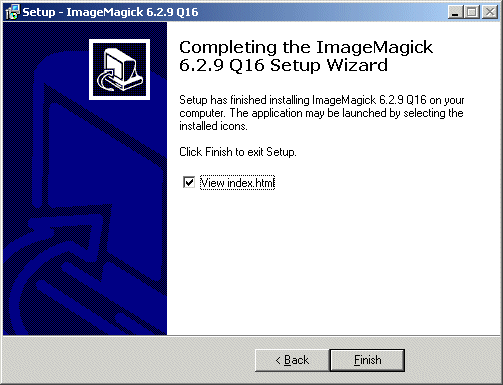
- The index.html is displayed.
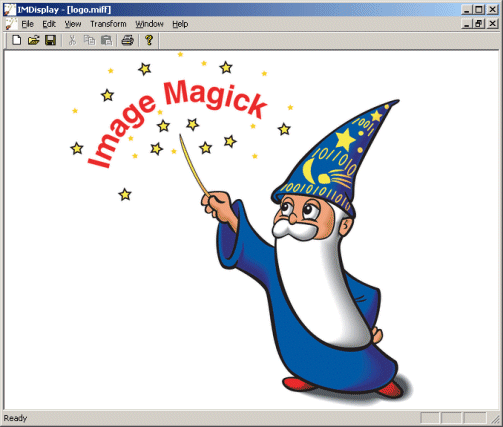
- To test the installation, open a dos window:
Type: cd c:\
Type: convert logo: logo.miff
Type: imdisplay logo.miff
The following will be displayed:
|
|