Libnfc is an open source Near Field Communication (NFC) C library that allows you to communicate with NFC devices.
It is a low level NFC SDK and Programmers API released under the GNU Lesser General Public License and provides developers
a way to work at higher level of abstraction with the NFC hardware.
All major operating systems are supported, including GNU/Linux, Mac OS X and Windows.
More information about libnfc can be found at:
http://nfc-tools.org
Installing libnfc on Windows and create executables and libnfc.dll
Information
This tutorial explains how to install, configure and use libnfc on a Windows operating system:
Operating system used
Windows Vista Home Premium SP 2
Hardware used
System: Dell Inspiron 1720
Processor: Intel Core 2 Duo CPU T9300 @ 2.5GHz 2.5GHz
System type: 32-bit Operating System
Software prerequisites
To install libnfc on Windows you also need the following software/libraries:
Procedure
- Installing TDM-GCC MinGW Compiler
Goto http://sourceforge.net/projects/tdm-gcc/
and download the TDM-GCC MinGW Compiler.
For example: tdm64-gcc-4.7.1-3.exe
More information about this compiler: http://tdm-gcc.tdragon.net/
Note: MinGW = Minimalist GNU for Windows
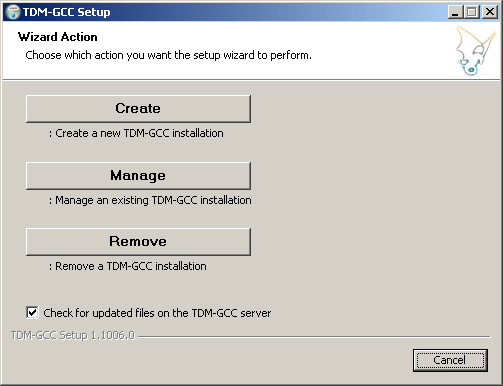
- Double click the executable and press the Create button.
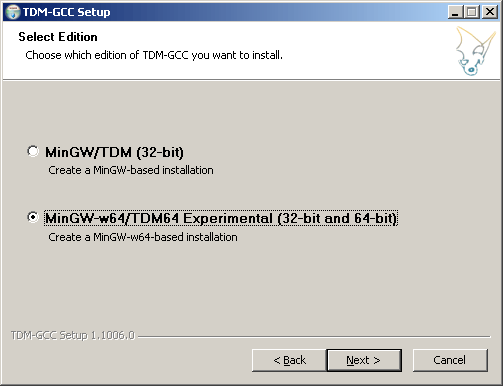
- Select "MinGW-w64/TDM64 Experimental (32-bit and 64-bit)" and press Next button.
Note:
You need to install this version instead of "MinGW/TDM (32 bit)".
The "MinGW-w64/TDM64 Experimental" version will run on 32-bit and 64-bit operating systems.
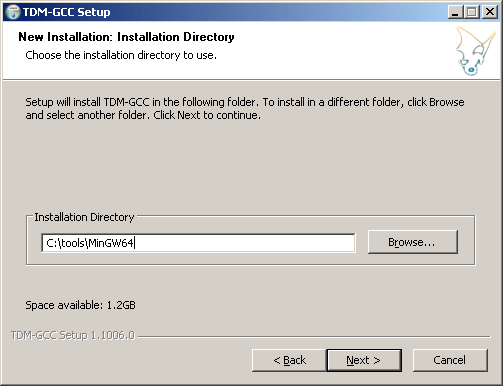
- Select TDM-GCC installation directory, for example C:\tools\MinGW64 and press Next button.
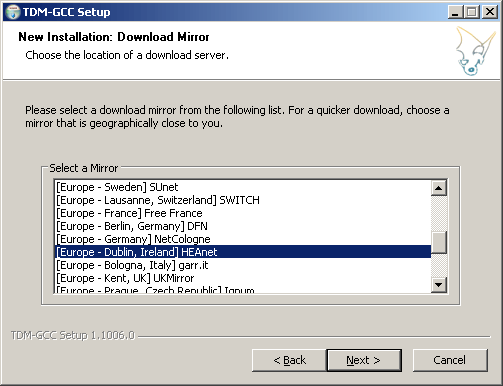
- Select your nearest TDM-GCC download server and press Next button.
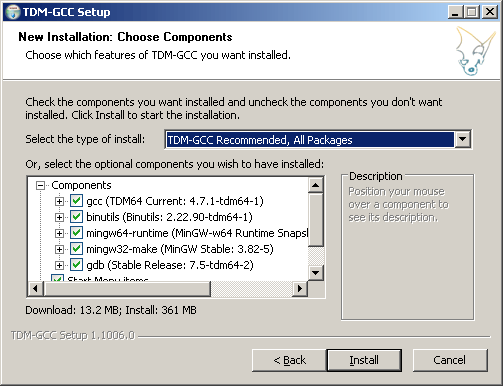
- Choose "TDM-GCC Recommended, All Packages" and press Install button.
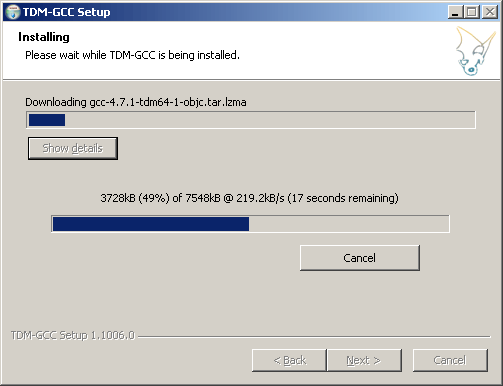
- Wait until TDM-GCC is installed and press Next button.
- Presh Finish button to complete the TDM-GCC setup.
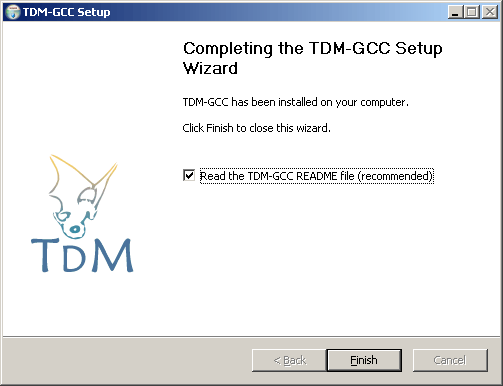
More information needed about TDM-GCC, read the README-gcc-tdm64.txt file.
- Installing libusb-win32
Goto http://sourceforge.net/projects/libusb-win32/
and download libusb-win32.
For example: libusb-win32-bin-1.2.6.0.zip
More information about this library: http://sourceforge.net/apps/trac/libusb-win32/wiki
- Download and unzip the file, for example: C:\tools\libusb-win32-bin-1.2.6.0
No further action is required.
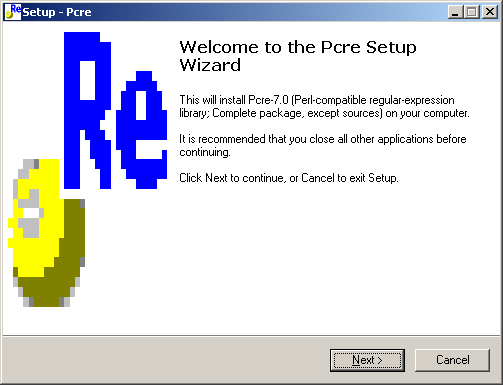
- Installing PCRE for Windows
Goto http://sourceforge.net/projects/gnuwin32/files/pcre/7.0/
and download the PCRE setup wizard (Perl-compatible regular-expression).
For example: pcre-7.0.exe
More information about PCRE: http://www.pcre.org
- Double click the executable and press the "Next" button.
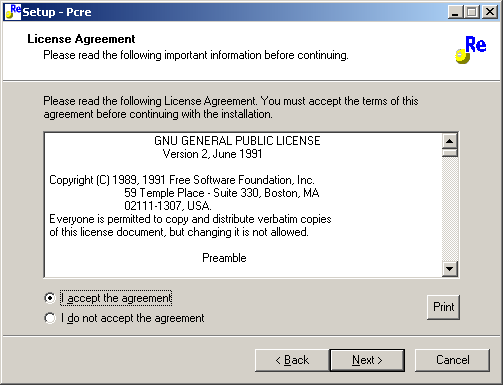
- Accept the agreement and press the "Next" button.
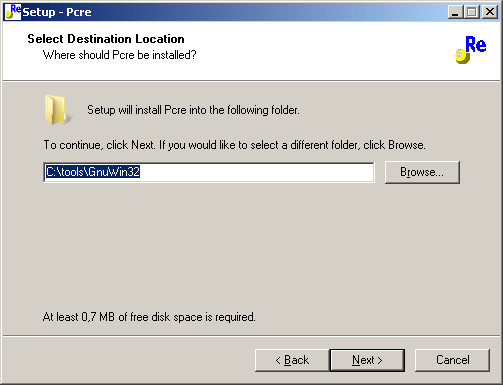
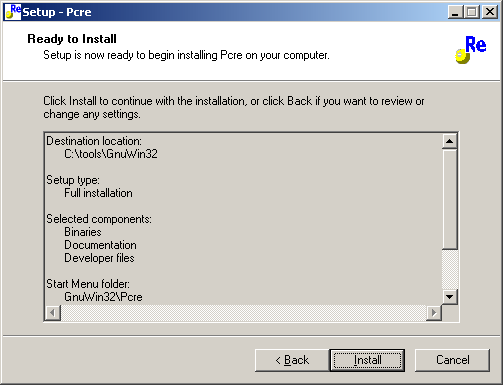
- Select PCRE installation directory, for example C:\tools\GnuWin32 and press Next button.
- Select "Full installation" and press Next button.

- Enter PCRE shortcut in Start menu and press Next button.
- Select additional tasks to be performed and press Next button.
- Press Install button.
- Press Finish button.
- Installing CMake
Goto http://www.cmake.org/
and download CMake binary distribution for Windows platform (Win32 Installer). CMake is a cross-platform, open-source build system.
For example: cmake-2.8.11.2-win32-x86.exe
- Double click the executable and press the "I Agree" button.
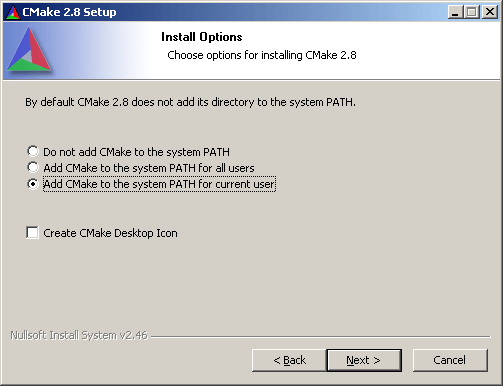
- Select "Add CMake to the system PATH for current user" and press "Next" button.
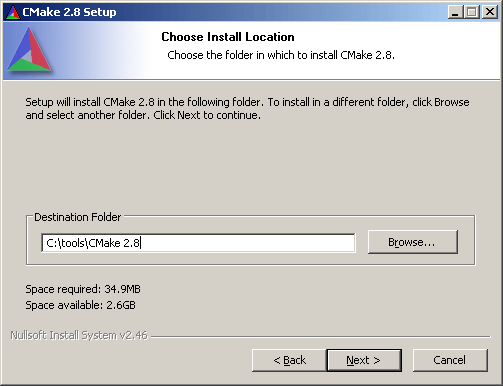
- Select CMake installation directory, for example C:\tools\CMake 2.8 and press Next button.
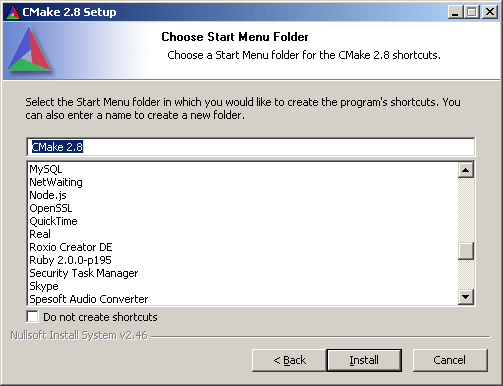
- Choose start menu folder and press Install button.
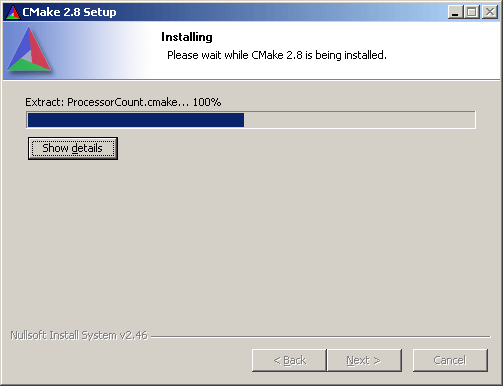
- Wait until CMake is installed and press Next button.
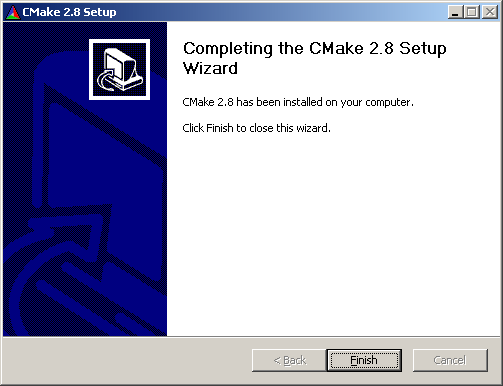
- Presh Finish button to complete the CMake setup.
- Installing Doxygen
Goto http://www.doxygen.org/
and download doxygen.
For example: doxygen-1.8.4-setup.exe
Note:
It is not required to install Doxygen.
If not installed, Doxygen warning messages will be displayed when you configure libnfc using CMake.
You can ignore these warning messages.
- Double click the executable and press the "Next" button.

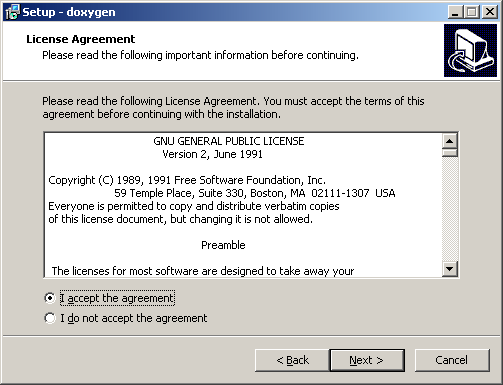
- Accept the agreement and press the "Next" button.
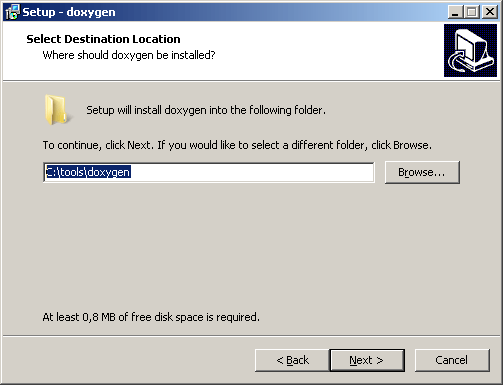
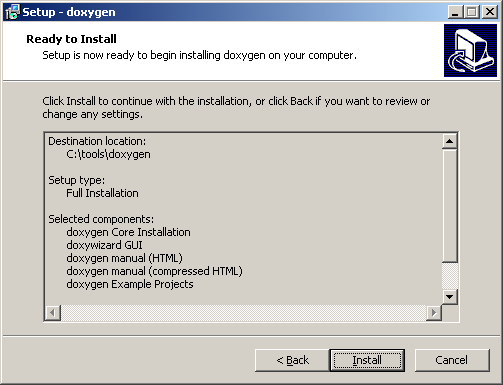
- Select Doxygen installation directory, for example C:\tools\doxygen and press Next button.
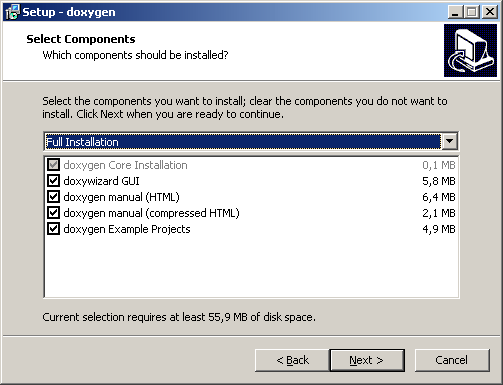
- Select "Full installation" and press Next button.
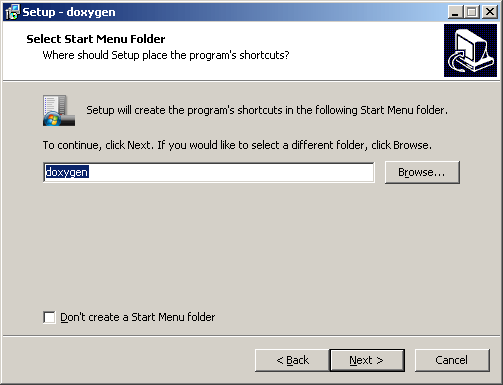
- Enter Doxygen shortcut in Start menu and press Next button.
- Press Install button.
- Doxygen is installing.
- Read Doxygen information and press Next button.
- Press Finish button.

- Installing libnfc
Goto http://code.google.com/p/libnfc/
and download the free Near Field Communication library (libnfc).
For example: ibnfc-1.7.0-rc7.tar.gz
And unpack the file.
For example: C:\tools\libnfc-1.7.0-rc7
More information about this library: http://nfc-tools.org
- Configure libnfc
Libnfc currently only supports communication over UART, using any inexpensive USB to UART adapter like the FTDI Tool.
Before compiling you will need to configure libnfc to include support for UART and the PN532 chipset.
Make the following changes:
- Due to a bug you will get the error message below when you later use the command "mingw32-make".
C:\libnfc-build\windows\libnfc.rc:25:37: warning: missing terminating " character [enabled by default]
Edit file:
C:\tools\libnfc-1.7.0-rc7\CMakeLists.txt
Change:
MACRO (GET_CURRENT_YEAR RESULT)
EXECUTE_PROCESS(COMMAND "cmd" " /C date /T" OUTPUT_VARIABLE ${RESULT})
STRING(REGEX REPLACE ".*(..)/(..)/(....).*" "\\3" ${RESULT} ${${RESULT}})
ENDMACRO (GET_CURRENT_YEAR)
into
MACRO (GET_CURRENT_YEAR RESULT)
EXECUTE_PROCESS(COMMAND "cmd" " /C date /T" OUTPUT_VARIABLE ${RESULT})
STRING(REGEX REPLACE "\n" "" ${RESULT} ${${RESULT}})
STRING(REGEX REPLACE ".*(..)/(..)/(....).*" "\\3" ${RESULT} ${${RESULT}})
ENDMACRO (GET_CURRENT_YEAR)
- The default timeouts in the pn532 driver are not long enough and unless you patch the driver, the NFC reader will not show up.
It is important to wait a time long enough to pass the pn532 wake up sequence, so do send a 0x55, 0x55 followed by some 30 0x00.
Edit file:
C:\tools\libnfc-1.7.0-rc7\libnfc\drivers\pn532_uart.c
Change:
const uint8_t pn532_wakeup_preamble[] = { 0x55, 0x55, 0x00, 0x00, 0x00 };
into
const uint8_t pn532_wakeup_preamble[] = { 0x55, 0x55, 0x00, 0x00, 0x00, 0x00, 0x00, 0x00, 0x00, 0x00, 0x00, 0x00, 0x00, 0x00, 0x00, 0x00, 0x00, 0x00, 0x00, 0x00, 0x00, 0x00, 0x00, 0x00, 0x00, 0x00, 0x00, 0x00, 0x00, 0x00, 0x00, 0x00 };
- If you copy c:\tools\libnfc-1.7.0-rc7\libnfc.conf.sample into c:\toolslibnfc-1.7.0-rc7\libnfc.conf, this file will not be read.
Do not copy libnfc.conf.sample. Here is an alternative way.
Edit file:
C:\tools\libnfc-1.7.0-rc7\libnfc\nfc-internal.c
Change:
res->allow_intrusive_scan = false;
into
res->allow_intrusive_scan = true;
- Set Windows System Path
Open the Windows "System Properties" window:
- Press the windows "Start" button
- Right click Computer
- Select Properties
- Click "Advanced system settings" which opens the "System Properties" window and press "Environment Variables..."
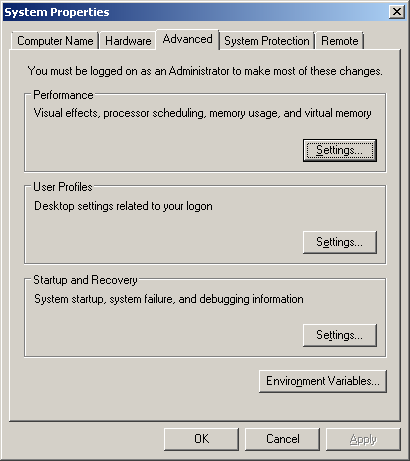
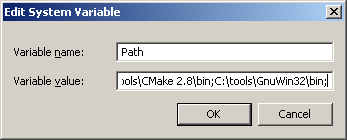
- In the "System variables" subwindow select variable "Path" and press "Edit..." buton.
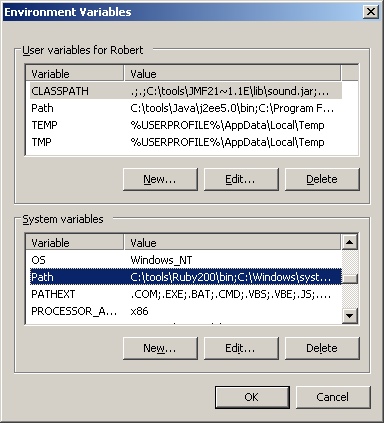
- Edit your System variable "Path". Add the following paths (if they were not already created) at the end:
- C:\tools\doxygen\bin; (Only if you installed Doxygen)
- C:\tools\MinGW64\bin;
- C:\tools\MinGW64\x86_64-w64-mingw32\lib32;
- C:\tools\MinGW64\x86_64-w64-mingw32\include;
- C:\tools\CMake 2.8\bin;
- C:\tools\GnuWin32\bin;
- To test if all required software/libraries are installed and the System PATH is set correctly, open a Dos window and type:
cmake
You should see:
cmake version 2.8.11.2
Usage
cmake [options] <path-to-source>
cmake [options] <path-to-existing-build>
:
See the complete cmake output.
- Configure CMake libnfc project
- Create a folder libnfc-build.
For example: c:\libnfc-build
- Open a dos window and goto folder "libnfc-build".
Type: cmake-gui .
CMake is used to configure and generate build files for software projects.
The basic steps for configuring a project are as follows:
- Select the source directory for the project.
This should contain the CMakeLists.txt files for the project.
In this tutorial the libnfc source directory is: C:\tools\libnfc-1.7.0-rc7
- Select the build directory for the project.
This is the directory where the project will be built.
It can be the same or a different directory than the source directory.
For easy clean up, a separate build directory is recommended.
CMake will create the directory if it does not exists.
In this tutorial the build directory is: c:\libnfc-build
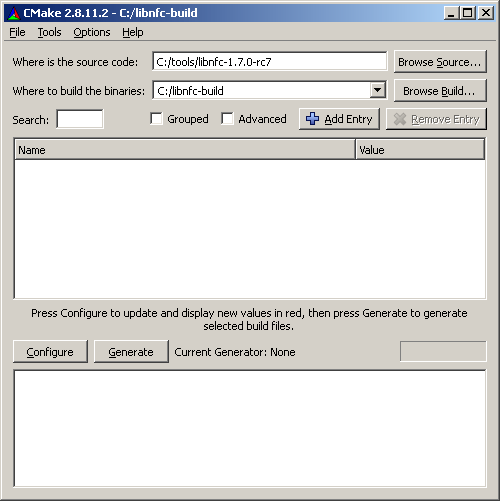
- Once the source and binary directories are selected, it is time to press the Configure button.
A window will open:
- Select the "MinGW Makefiles" generator.
- Select option: Use default native compilers.
- Press Finish button.
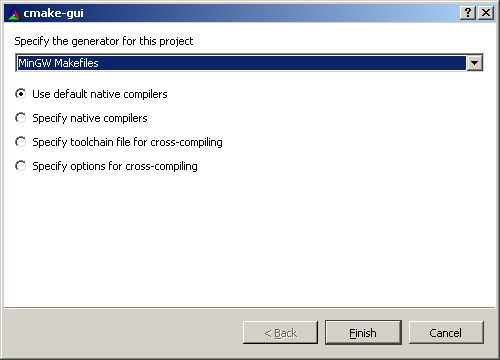
This will cause CMake to read all of the input files and discover all the variables used by the project.
The first time a variable is displayed, it will be in Red.
Users should inspect red variables making sure the values are correct.
For some projects the Configure process can be iterative, so continue to press the Configure button until there are no red entries.
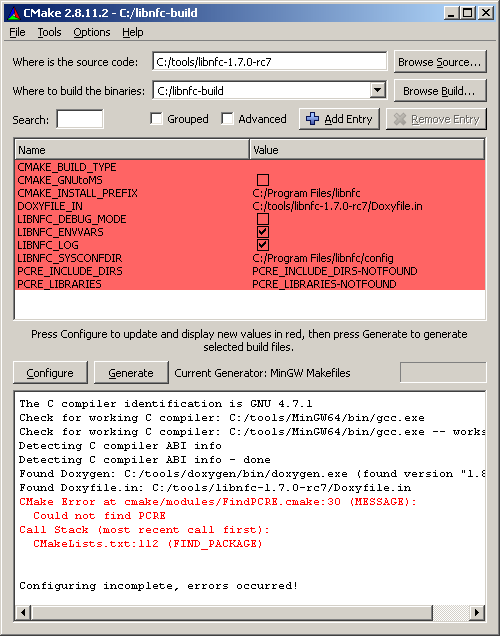
To fix the errors mentioned above:
- Click on the PCRE_INCLUDE_DIRS value and goto:
C:\tools\GnuWin32\include
- Click on the PCRE_LIBRARIES value and select file:
C:\tools\GnuWin32\lib\libpcre.dll.a
- And press the Configure button again.
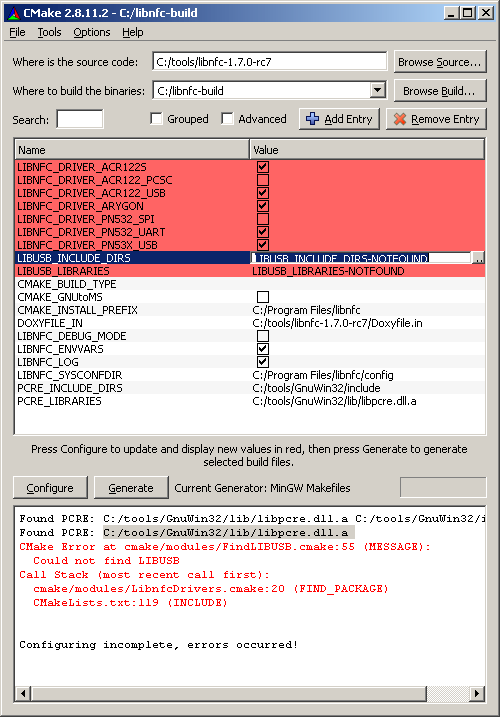
To fix the errors mentioned above:
- Click on the LIBUSB_INCLUDE_DIRS value and goto:
C:\tools\libusb-win32-bin-1.2.6.0\include
- Click on the LIBUSB_LIBRARIES value and select file:
C:\tools\libusb-win32-bin-1.2.6.0\lib\gcc\libusb.a
By doing the above, you are building a 32bit application.
For 64bit system, either 32bit application or 64bit application will work.
64bit application can not work on 32bit Windows OS.
For a 64bit system, you need to use a 64bit driver.
A 32bit driver will not work under 64 bit system, and vice versa,
64bit driver will not work under 32bit system.
- 32bit MinGW GCC
libusb-win32-bin-1.2.6.0\lib\gcc\libusb.a
- 64bit MinGW GCC
directly link to libusb0.dll or create your own import lib
- 32bit MSVC (=Microsoft Visual C++)
libusb-win32-bin-1.2.6.0\lib\msvc\libusb.lib
- 64bit MSVC
libusb-win32-bin-1.2.6.0\lib\msvc_x64\libusb.lib
- 64bit MSVC for IA64
libusb-win32-bin-1.2.6.0\lib\msvc_i64\libusb.lib
- Borland C (32bit only)
libusb-win32-bin-1.2.6.0\lib\bcc\libusb.lib
- Other compiler, use dynamic
libusb-win32-bin-1.2.6.0\lib\dynamic\libusb_dyn.c
- And press the Configure button again.
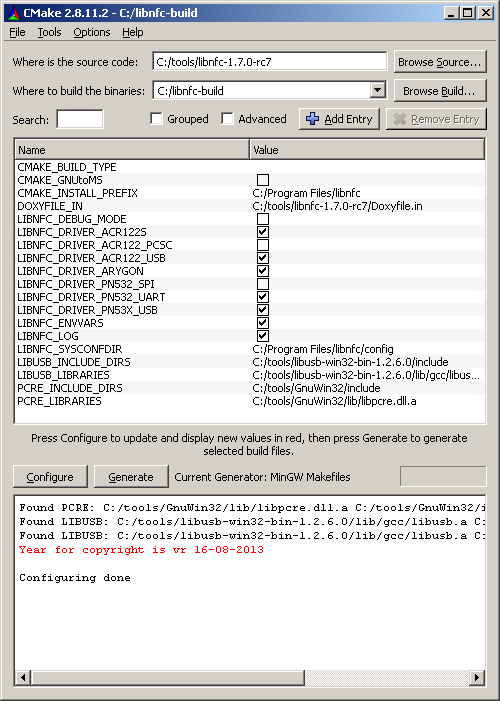
- Once there are no longer red entries, configure libnfc according to your need.
In my situation I will later connect an Adafruit PN532 RFID/NFC Shield to an FTDI board to a laptop running Windows Vista.
Because libnfc currently only supports communication over UART I make the final changes:
- Set CMAKE_BUILD_TYPE=Debug
- Set CMAKE_INSTALL_PREFIX=C:/tools/libnfc-1.7.0-rc7
- Set LIBNFC_DEBUG_MODE=ON
- Set LIBNFC_DRIVER_PN532_UART=ON
- Set all LIBNFC_DRIVER_NNN=OFF
- Set LIBNFC_SYSCONFDIR=C:/tools/libnfc-1.7.0-rc7/config
Click the Configure button and then the Generate button.
This will create files to the build directory: c:\libnfc-build
- Build windows executable files and libnfc.dll with mingw32-make
- Goto folder C:\libnfc-build and type: mingw32-make
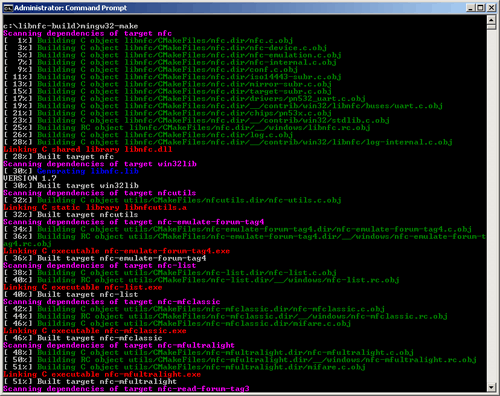
See the complete mingw32-make output
Executables (.exe) are created and can be found in the folders:
C:\libnfc-build\utils
- nfc-emulate-forum-tag4.exe
- nfc-list.exe
- nfc-mfclassic.exe
- nfc-mfultralight.exe
- nfc-read-forum-tag3.exe
- nfc-relay-picc.exe
- nfc-scan-device.exe
C:\libnfc-build\examples
- nfc-anticol.exe
- nfc-dep-initiator.exe
- nfc-dep-target.exe
- nfc-emulate-forum-tag2.exe
- nfc-emulate-tag.exe
- nfc-emulate-uid.exe
- nfc-mfsetuid.exe
- nfc-poll.exe
- nfc-relay.exe
File C:\libnfc-build\libnfc\libnfc.dll is also created.
- Copy libnfc.dll to C:\Windows\System32
If you run the above mentioned executables, for example:
C:\libnfc-build\utils\nfc-list.exe
the following error message is shown:
This application has failed to start because libnfc.dll was not found.
Re-installing the application may fix this problem.
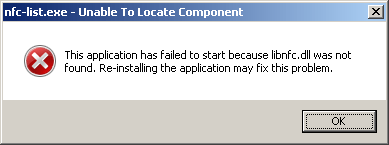
To fix this error copy the generated C:\libnfc-build\libnfc\libnfc.dll to
C:\Windows\System32
Do this each time if you use the command "mingw32-make".
|
|