Oracle VM VirtualBox is a virtualization software package for x86 and AMD64/Intel64-based computers from Oracle Corporation.
The VirtualBox package installs on an existing host operating system (Linux, Mac OS X, Windows XP, Windows Vista, Windows 7, Windows 8, Solaris, OpenSolaris, FreeBSD and Genode) other
guest operating systems (as applications), each known as a Guest OS, to load and run, each with its own virtual environment.
The latest Oracle VM VirtualBox version can be downloaded from:
http://www.oracle.com/technetwork/server-storage/virtualbox/downloads/index.html
Install Ubuntu on Windows using VirtualBox
Information
The Ubuntu setup described below is not intended for production environment but for lab exercises.
Operating system used
Windows Vista Home Premium SP 2
Software prerequisites
Oracle VM VirtualBox on Windows.
Procedure
- Download Ubuntu 14.04.2 LTS Server (32-bit) for Windows
For example: D:\docker\ubuntu-14.04.2-server-i386.iso
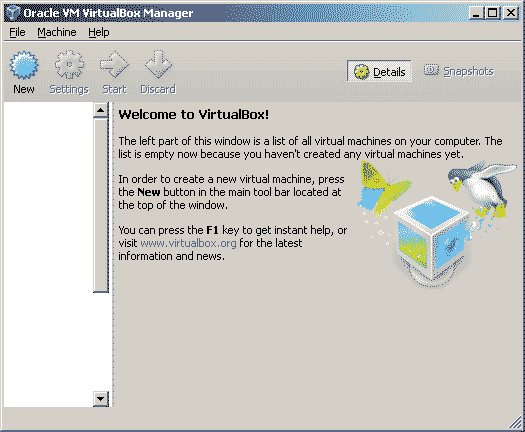
- Start VirtualBox and press the New button in the main tool bar located at the top of the window.
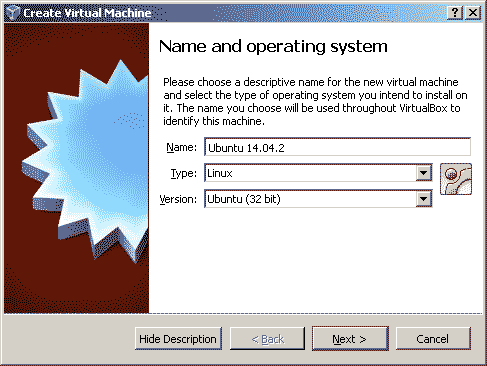
- Enter Name: Ubuntu 14.04.2
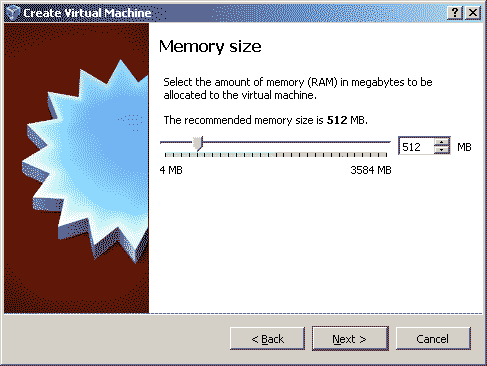
- Set the memory size (you always change it later) and press Next button.
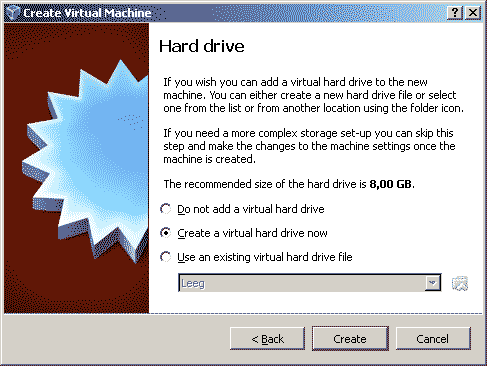
- Select "Create a virtual hard drive now" and press Create button.
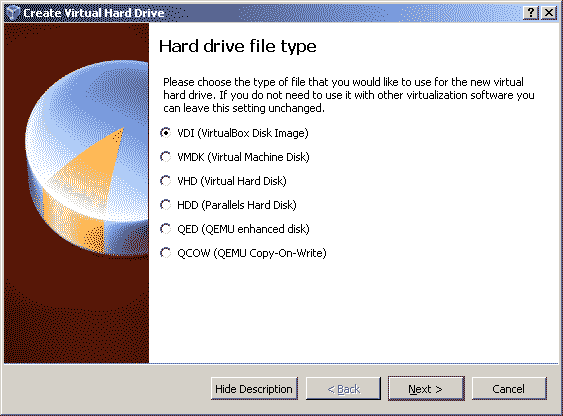
- Select "VDI (VirtualBox Disk Image)" and press Next button.
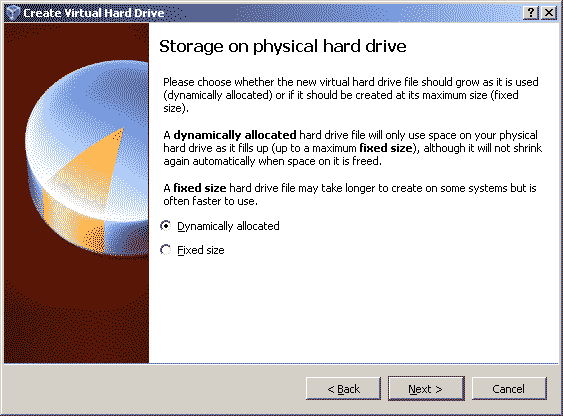
- Select "Dynamically allocated" and press Next button.
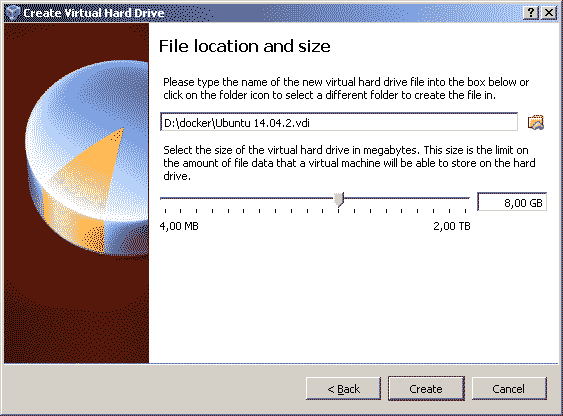
- Specify the name and location where to create the virtual harddrive (vdi) and press Create button.
For example: D:\docker\Ubuntu 14.04.2.vdi
Note:
By default the virtual harddrive will be created in folder:
C:\Users\account_name\VirtualBox VMs\virtual_hardrive_name
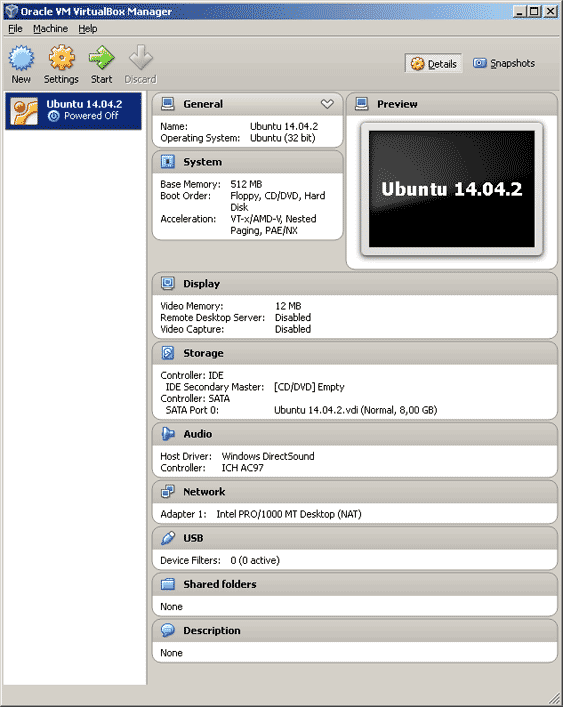
- Select "Ubuntu 14.04.2" and press the Settings button in the main tool bar located at the top of the window.
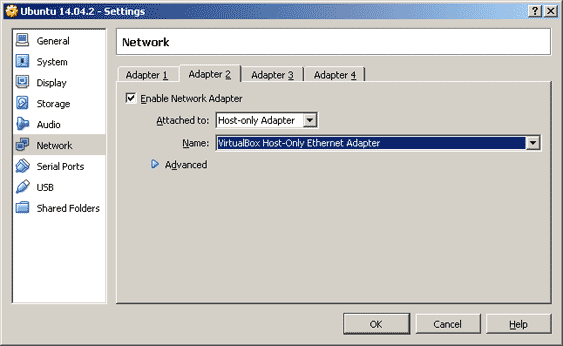
- Change the network configuration. Attach a second NIC (Network Interface Card) to the VM (Virtual Machine):
- Select Network
- Select tab Adapter 2
- Check Enable Network Adapter
- Select Host-only Adapter
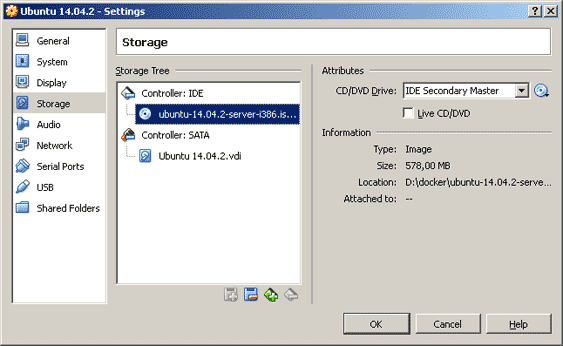
- Change the storage configuration. Mount the ubuntu-14.04.2-server-i386.iso image which we have downloaded earlier to the VM:
- Select Storage
- Select Controller:IDE | Empty, press the CD drive icon and select "Choose a virtual CD/DVD disk file"
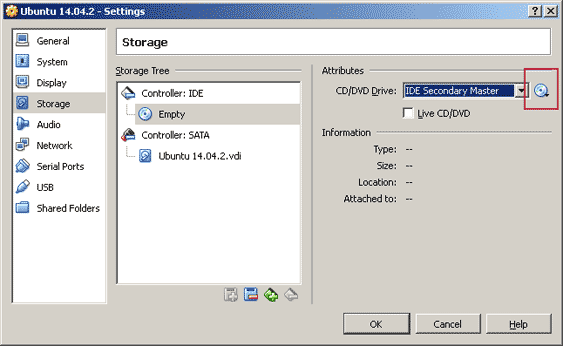
- Select the Ubuntu image, for example: D:\docker\Ubuntu 14.04.2.vdi
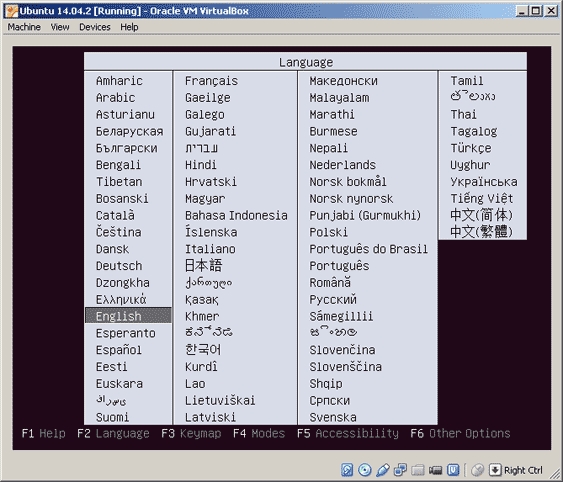
- Select "Ubuntu 14.04.2" and press Start button

- Select English and press Enter.
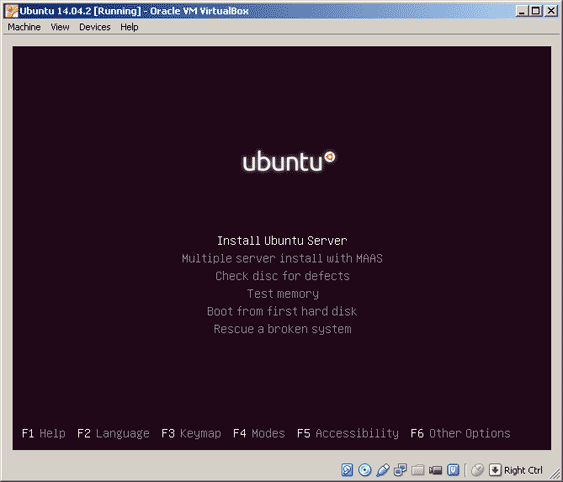
- Select "Install Ubuntu Server" and press Enter.
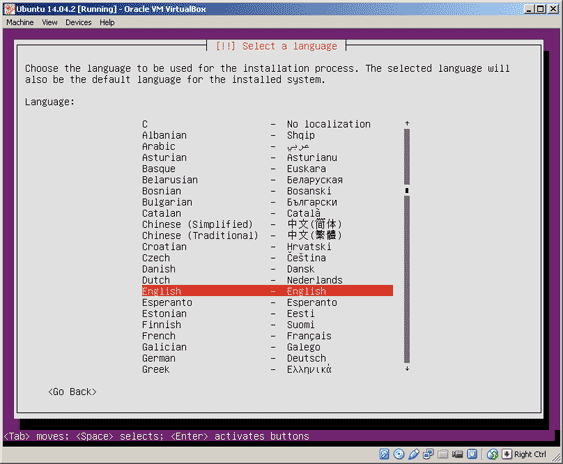
- Select installation language, for example English and press Enter.
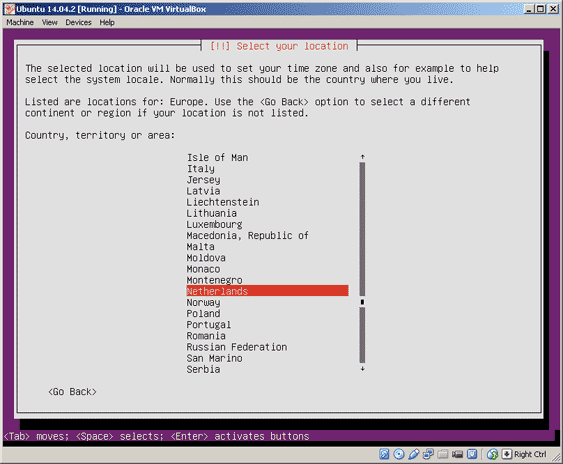
- Select your location, for example Netherlands and press Enter.
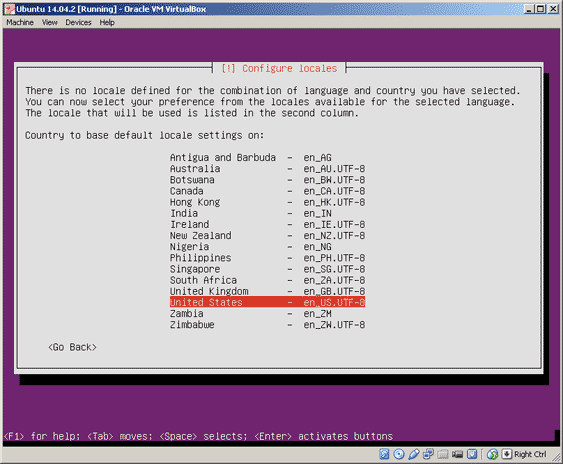
- Select locale, for example "United States" and press Enter.
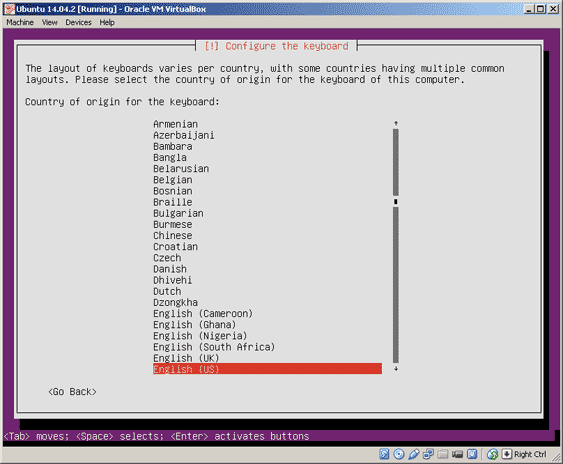
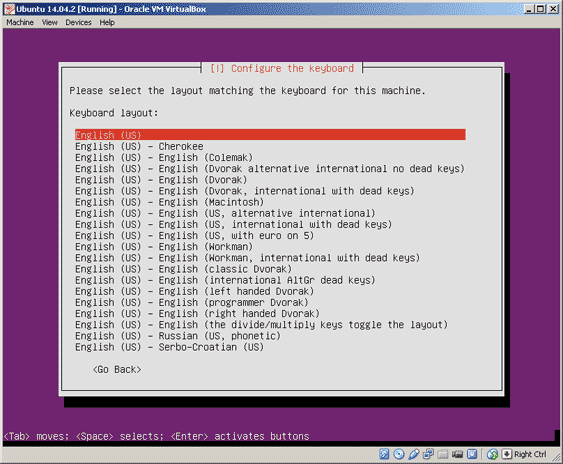
- Detect keyboard layout? Select No and press Enter.

- Manually select your keyboard. In my situation I have made these keyboard selections.
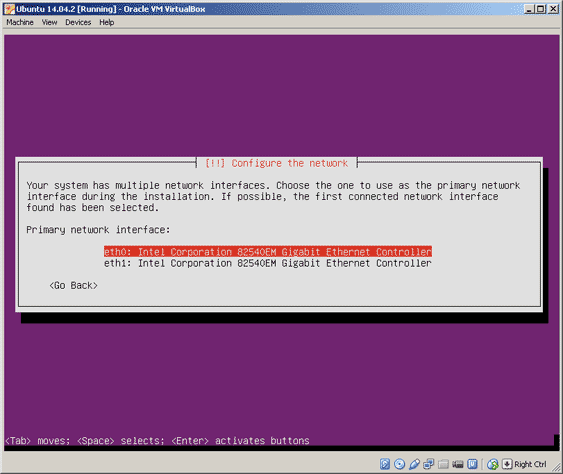
- Configure network, select eth0 and press Enter.
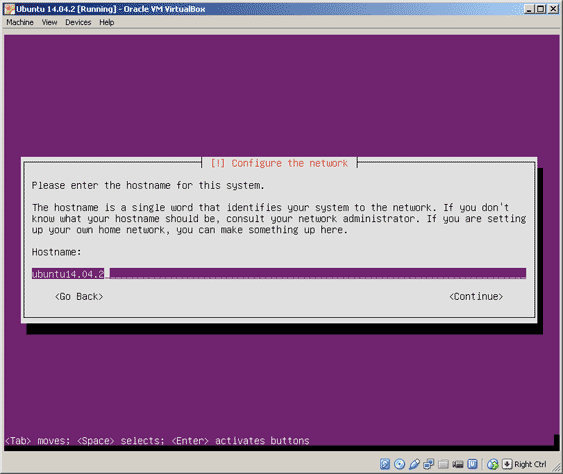
- Enter hostname: ubuntu14.04.2, press KeyDown button (Continue is now selected) and press Enter.
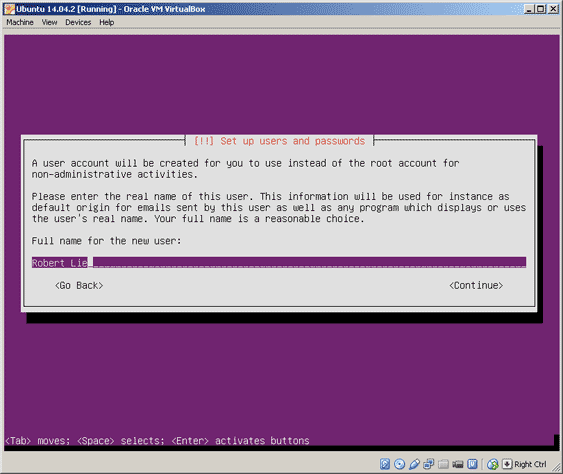
- Enter my name: Robert Lie, press KeyDown button (Continue is now selected) and press Enter.
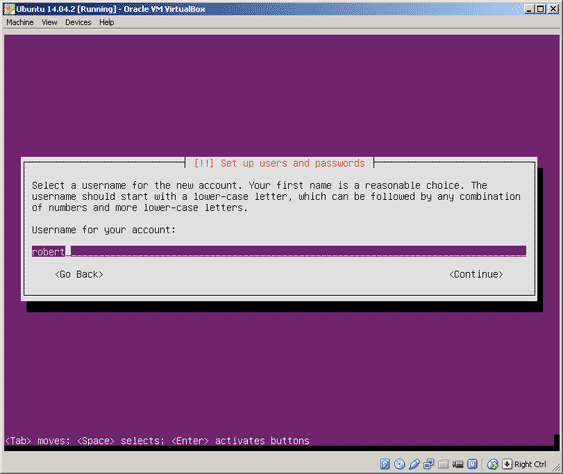
- Enter my username: robert, press KeyDown button (Continue is now selected) and press Enter.
- Enter my password: mysecret, press KeyDown button (Continue is now selected) and press Enter.
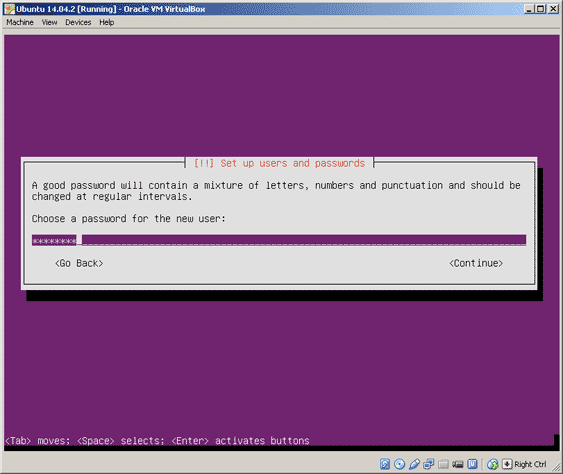
- Re-enter my password: mysecret, press KeyDown button (Continue is now selected) and press Enter.

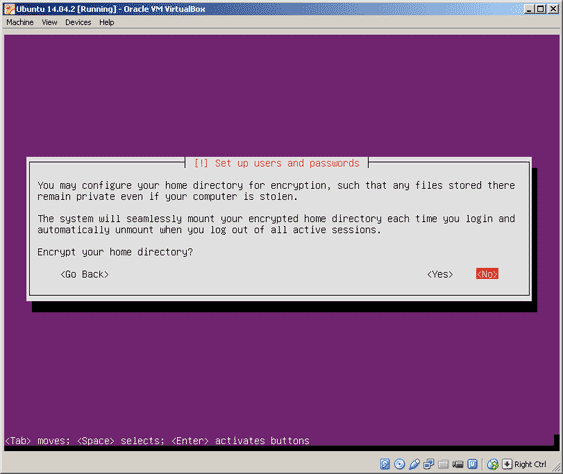
- I do not want to encrypt my home directory, select NO and press Enter.
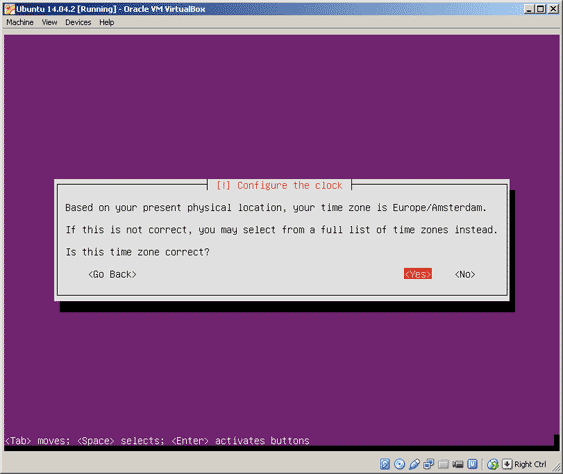
- Set your timezone.
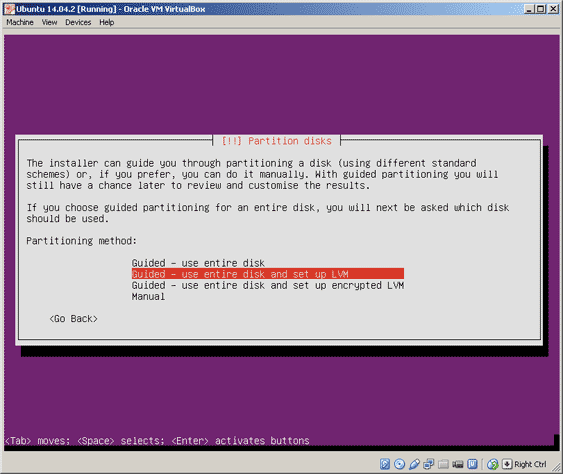
- Partition disk, select "Guided - Use entire disk and setup LVM" and press Enter.
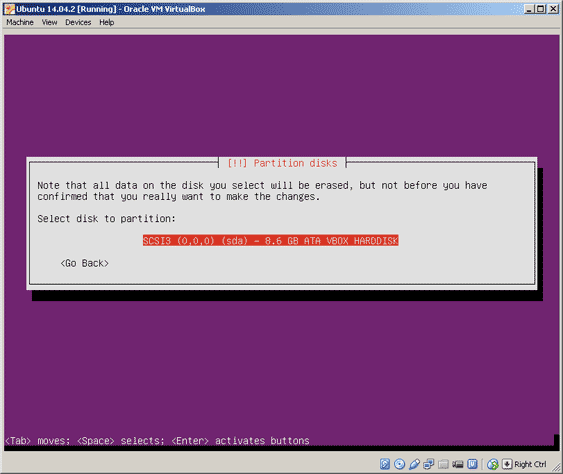
- Select disk to partition and press Enter.
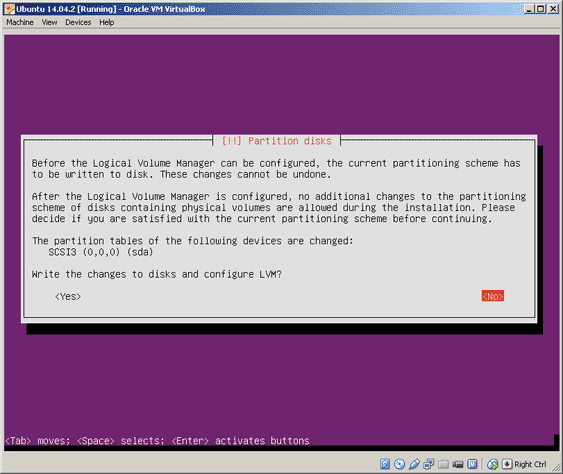
- Write changes to disk and configure LVM (Logical Volume Manager), select Yes and press Enter.
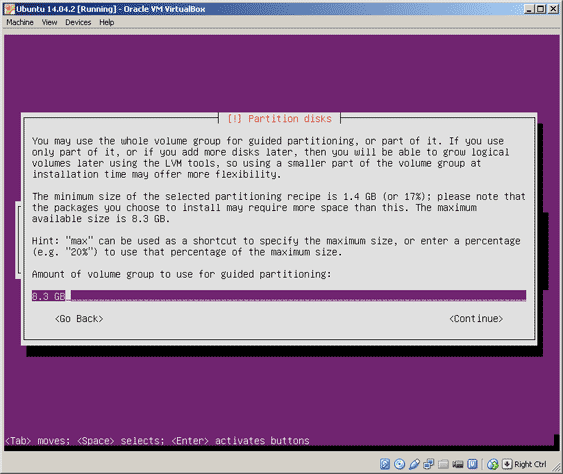
- Amount of volume group to use for guided partitioning. Enter 8.3GB, select Continue and press Enter.
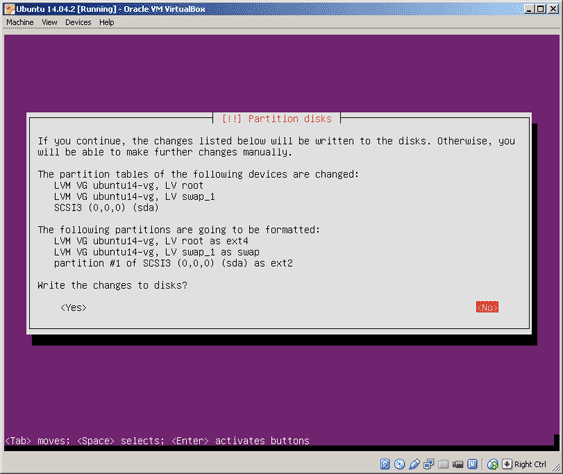
- Write the changes to disks? Select Yes and press Enter.
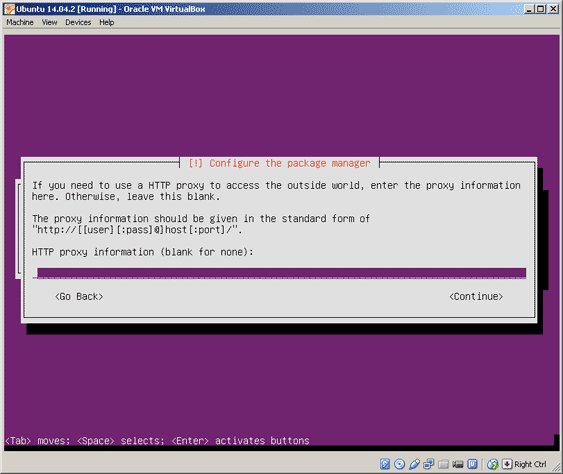
- I do not need a HTTP Proxy to access the outside world, leave field blank, select Continue and press Enter.
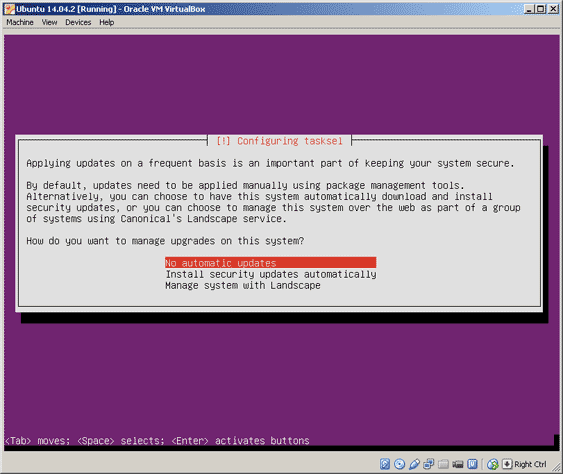
- I do not want automatic updates. Select "No automatic updates" and press Enter.
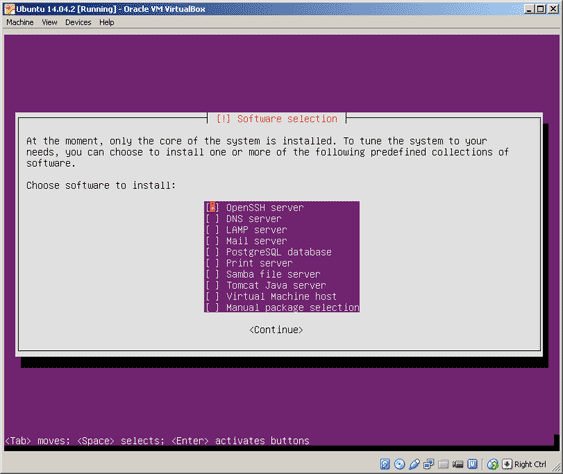
- Install OpenSSH server to login remotely (use spacebar to select OpenSSH). Select Continue (use Tab key) and press Enter.
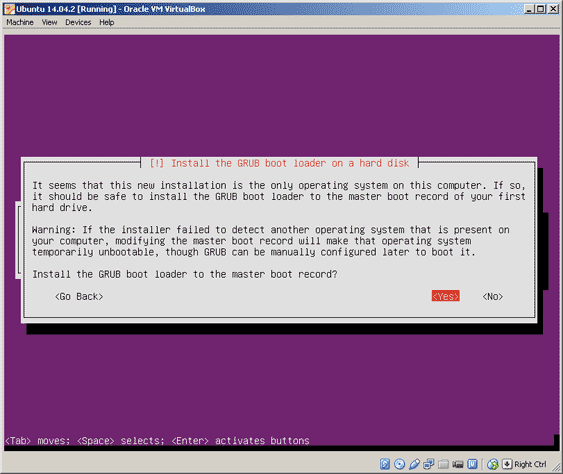
- Install GRUB boot loader. Select Yes and press Enter.
- Finish the installation, select Continue and press Enter.
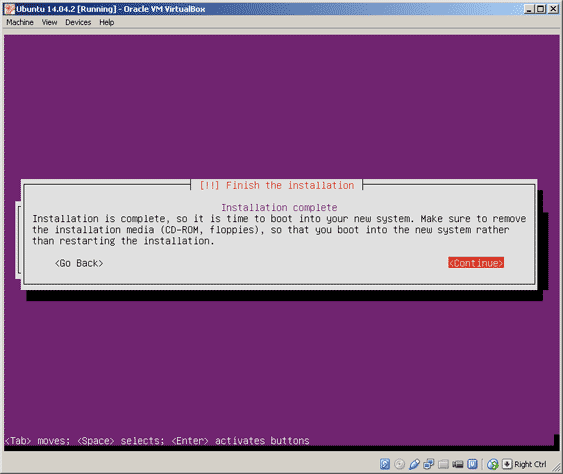
- The Ubuntu server 14.04.2 is installed.
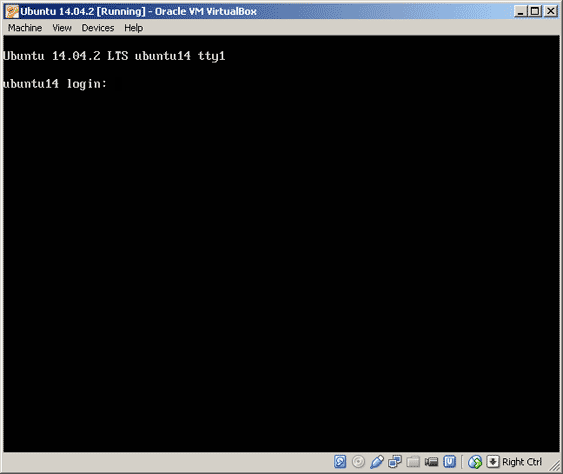
- You can now login with the username and password you previously entered during the Ubuntu installation.
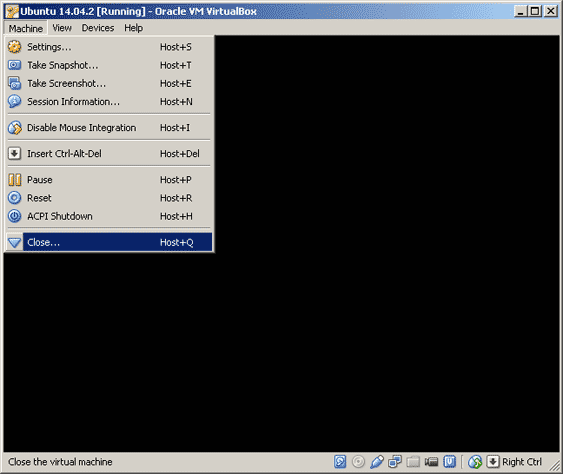
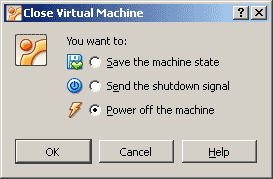
- To shutdown the VM, press the right CTRL button to disable the mouse capture.
In the main tool bar located at the top of the window, select Machine | Close, and select "Power off the machine".
|
|