3D Studio Max (3dsmax) is a 3D modeling, animation, and rendering tool.
It is owned by Autodesk, an United States (San Rafael, California) based company.
More information about 3D Studio Max can be found at: http://www.autodesk.com/3dsmax/
Note: A free 30 days trial version can be downloaded from the Autodesk site.
Some 3D Studio Max forums:
Create a teapot (teapot1.max).
Information
This guide is based on 3D Studio Max 7.
Procedure
Step 1: Setup Environment
- Retrieve default layout.

- Select menu: Customize | Load Custom UI Scheme
- Select: ..\3dsmax7\UI\DefaultUI.ui
- Change unit scale.
- Select menu: Customize | Units Setup
- Select Display Units Scale: Generic Units
- Change grid settings.
- Select menu: Customize | Grid and Snap Settings
- Select tab: Home Grid
- Enter Grid spacing: 10,0
- Enter Major Lines every Nth Grid Line: 10
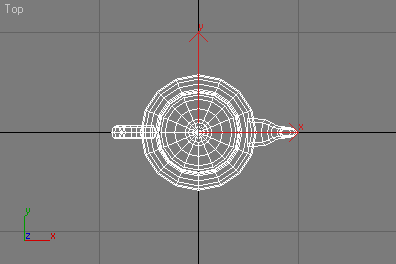
Step 2: Draw a teapot
- Go to the Create panel
 and click Geometry
  .
Make sure Standard Primitives is chosen in the drop-down list. Click Teapot. .
Make sure Standard Primitives is chosen in the drop-down list. Click Teapot.
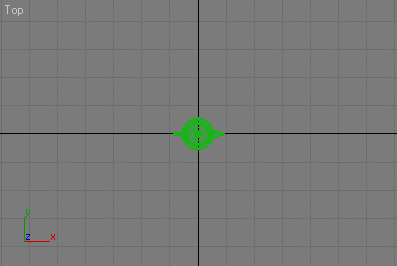
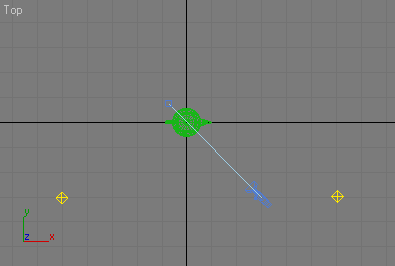
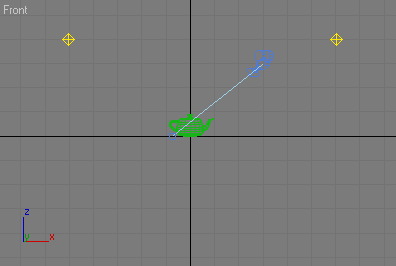
- Create a teapot in the Top viewport. First, drag from the center outward to create the teapot.
Step 3: Add a camera
- In the Top viewport, zoom out the view
 . .
- Go to the Create panel
and click Cameras
 .
In the Object Type rollout, select Target. .
In the Object Type rollout, select Target.
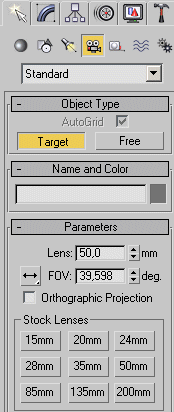
- In the Parameters rollout, select Stock Lensens button 50mm.
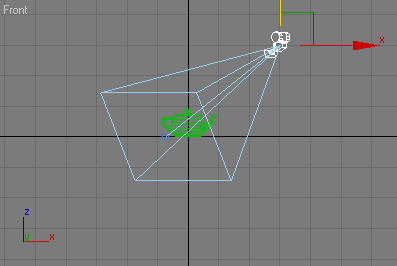
- Draw the camera in the Top viewport (3 gridlines right en 3 gridlines down).
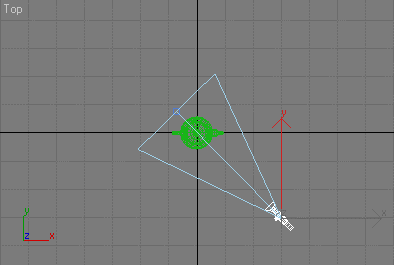
- In the Front viewport move the camera 3 gridlines up.
The camera is looking down at an angle at the teapot.
- Again draw another camera in the Top viewport (3 gridlines down).
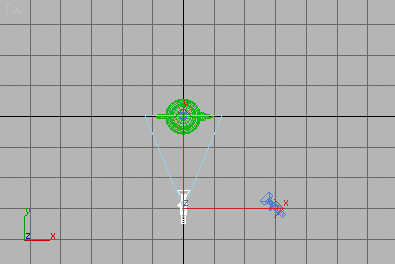
- In the Left viewport move this camera 3 gridlines up.
The camera is looking down at an angle at the teapot.
- Right-click the Perspective viewport to make it active, then press the C key on the keyboard to change into the Camera viewport.
- Because more then 1 camera is added to the scene, the select camera window is displayed.
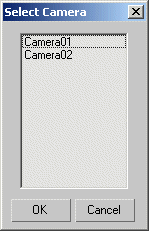
Select Camera01.
-
The Perspective viewport is replaced with the Camera Viewport.
The viewport now shows what Camera01 "sees".
- If the teapot is not correctly displayed in the Camera Viewport, use the
Truck Camera button
 to move the camera.
Step 4: Add light
- Go to the Create panel
and click Lights
 .
Select Standard in the pull down menu. .
Select Standard in the pull down menu.
- In the Object Type rollout, select Omni.
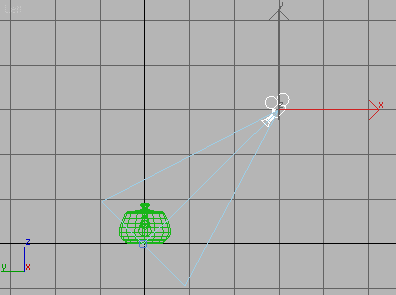
- Add two Omni lights in the Top viewport as indicated below.
Note: Camera02 is hidden.
- In the Front viewport move both Omni lights 4 gridlines up.
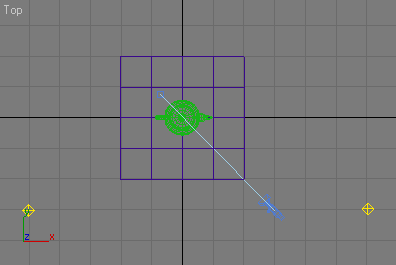
Step 5: Draw a plane
- Go to the Create panel
and click Geometry .
Make sure Standard Primitives is chosen in the drop-down list. Click Plane.
- Draw a plane in the Top viewport.
Note: Camera02 is hidden.
Step 6: Change Target camera to Free camera
- Note: This step is needed if you want to export the scene to an m3g file.
- Select the Camera by pressing the H on the keyboard, then choose Camera from the list.
- On the Modify panel
 ,
goto the Parameters rollout and locate the Type: field. Click the drop-down arrow and choose Free Camera. ,
goto the Parameters rollout and locate the Type: field. Click the drop-down arrow and choose Free Camera.
- Repeat these steps for all Target Cameras.
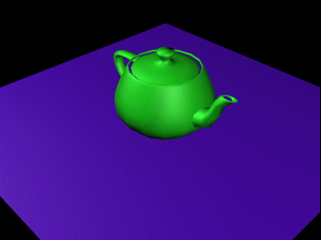
Step 7: Render scene
- Select the Perspective viewport and press the C on the keyboard to change into the Camera viewport.
- Because more then 1 camera is added to the scene, the select camera window is displayed.
Select Camera01.
- Press the Quick Render button
 (or F9). (or F9).
- You should see the following:
Step 7: Save model
- Select menu: File | Save as.
- Save the model as teapot1.max.
|
|