IOTA is an open-source distributed ledger. It uses a directed acyclic graph (DAG) instead of a blockchain.
IOTA's DAG is referred to as the tangle, and is a generalization of the block chain protocol.
Note:
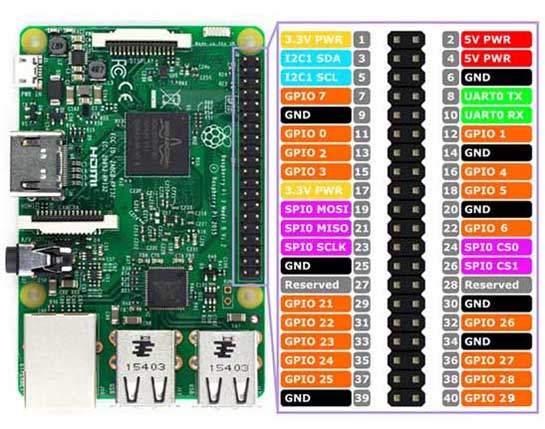
To verify this pin diagram, you need to install raspbian, open a terminal and type: gpio readall
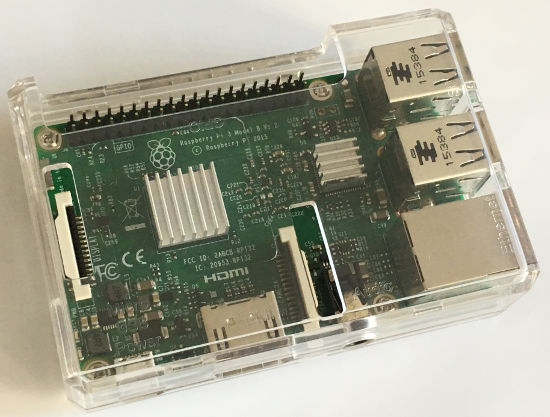
(Optional) Raspberry Pi 3 case to protect the Raspberry Pi
Samsung EVO micro SDHC card (32GB, 48MB/s, class 10) with adapter.
The SD card adapter is only needed if your SD card reader only accommodates normal sized SD cards.
You can use a micro SD card with less storage space, for example 8-16 GB.
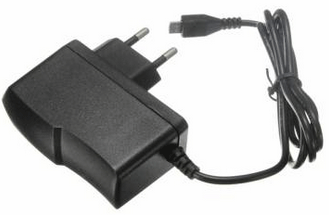
Raspberry Pi power supply.
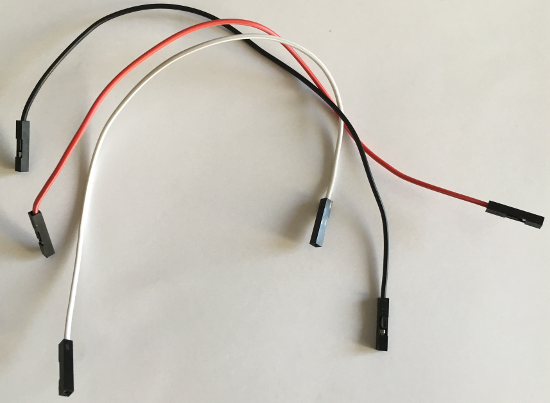
Jumper wires (3x female-female, 20 cm long)
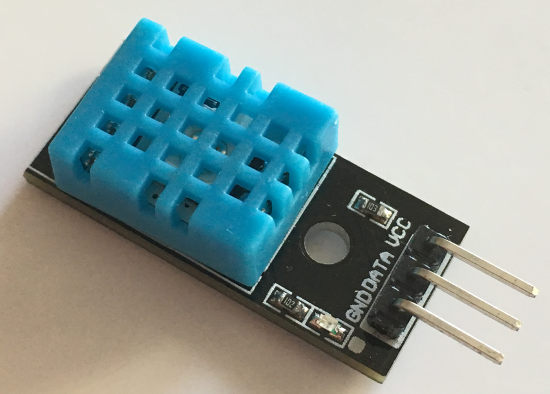
DHT11 sensor module (DHT = Digital Humidity Temperature)
Specification:
Supply voltage: 3.3 ~ 5.5V DC
Output: single-bus digital signal
Measuring range: humidity 20-90% RH, temperature 0 ~ 50°C
Accuracy: humidity ±5% RH, temperature ±2°C
Resolution: Humidity 1% RH, temperature 1°C
Long-term stability: < ±1% RH / Year
After installing the Raspbian OS on the micro SD card, the Raspberry Pi needs to be setup.
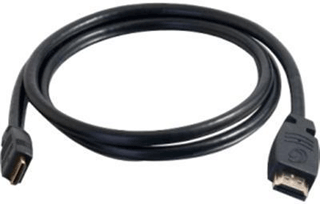
During this setup proces, the Raspberry Pi is connected to a monitor using a HDMI cable.
A USB keyboard and mouse are connected to the Raspberry Pi.
The Raspberry Pi 3 has WiFi capability.
Note: After the setup process, the monitor, HDMI cable, keyboard and mouse are not needed.
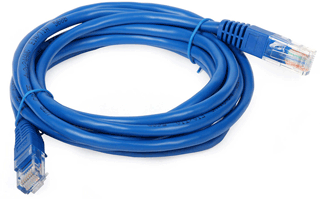
Ethernet network cable, in case you have no access to a WiFi network.
Monitor with HDMI connection, USB keyboard and mouse (only needed to setup the Raspberry Pi)
HDMI cable (to connect Raspberry Pi to monitor, only needed to setup the Raspberry Pi)
Software prerequisites
none
Procedure
Before you start, please note this tutorial was specifically written for macOS users!
Check its checksum.
Type (applies to macOS): shasum -a 256 NOOBS_v2_8_2.zip
Unpack the zip file.
Format the micro SD card.
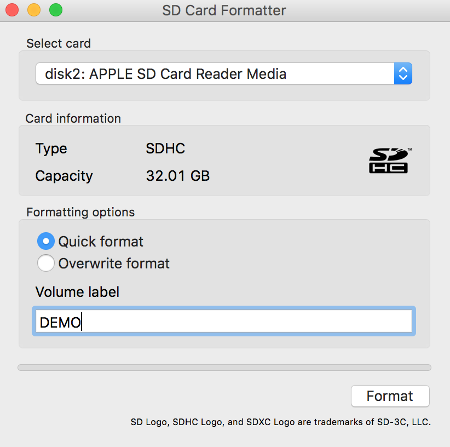
Open the SD Formatter application
Select card
For example: disk2: APPLE SD Card Reader Media
Select Quick Format (FAT)
Specify card name: DEMO
Click Format button
When done, you see: Card Format complete!
The micro SD card now appears in the Finder.
Install and setup Raspbian on the micro SD Card.
Copy the NOOB content to the micro SD card.
ONLY copy the contents inside the NOOBS_v2_8_2 folder and not the folder itself.
NOTE: The NOOB size is approx 1.58 GB
Verify that all files are copied.
Eject the micro SD card, by clicking the Eject icon in Finder.
Remove the micro SD card and insert it into the Raspberry Pi 3.
Connect the following hardware to the Raspberry Pi:
Monitor using the HDMI cable
Mouse and keyboard
If WiFi is not available, an Ethernet cable
Power up the Raspberry Pi by connecting the power cable.
After bootup you see the screen: NOOB v2.8 - Built: Apr 18 2018
Select Raspbian (RECOMMENDED)
A port of Debian Stretch for Raspberry Pi (full desktop version)
Select Install button (takes a while to install)
After setup, press OK, the Raspberry Pi is rebooted.
Press Next button
Set your Country, Language and Timezone, for example:
Country: Netherlands
Language: Dutch
Timezone: Amsterdam
Enter Raspberry Pi account information, for example:
User: pi
Password: mysecret
Check for updates
Reboot the Raspberry Pi
After reboot:
Select Menu: Raspberry Pi configuration
Select Tab: Interfaces
Enable: SSH and VNC
If Wifi is available setup WIFI, click the network symbol (top right icon)
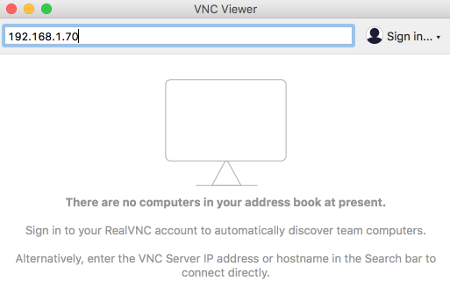
In the opened window, enter the Raspberry Pi IP address, for example: 192.168.1.70
Login:
User: pi
Password: mysecret
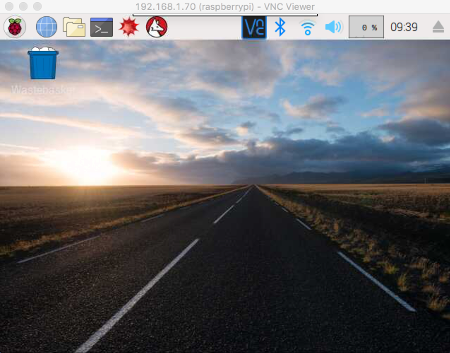
You can now access the Raspberry Pi thru your computer.
Monitor, keyboard and mouse can be removed from the Raspberry Pi.
Install Node.JS on the Raspberry Pi.
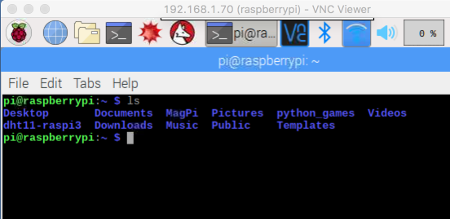
In the Raspberry Pi open a terminal:
Type: curl -sL https://deb.nodesource.com/setup_8.x | sudo -E bash -
Type: sudo apt-get install -y nodejs
Check the Node.js version: node -v
For example: v8.11.3
Shutdown Raspberry Pi and remove power.
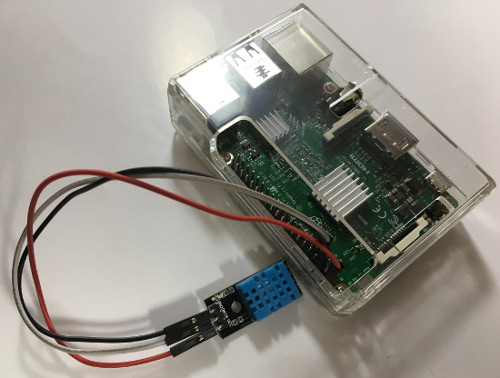
Connect the DHT11 sensor module to the Raspberry Pi 3 using the three jumper wires.
For the communication between DHT11 sensor module and Raspberry Pi the BCM2835 library is used.
This is a C library for Raspberry Pi. It provides access to GPIO and other IO functions on
the Broadcom BCM 2835 chip, as used in the Raspberry Pi, allowing access to the GPIO pins on
the 26 pin IDE plug on the RPi board so you can control and interface with various external devices.
More info: http://www.airspayce.com/mikem/bcm2835/
Download and build the BCM2835 library on the Raspberry Pi.
Power up the Raspberry Pi, login and open a terminal.
Build and install bcm2835-1.56:
Type: tar zxvf bcm2835-1.56.tar.gz
Type: cd bcm2835-1.56
Type: ./configure
Type: make
Type: sudo make check
Type: sudo make install
Install git on the Raspberry Pi.
Type: sudo apt-get install git
Download and install the dht11-raspi3 project on the Raspberry Pi:
mam_publish.js: Publishes randomly generated numbers to the IOTA Tangle using MAM.
mam_receive.js: Extract the stored data from the IOTA Tangle using MAM and display the data.
sensor.js: The DHT11 sensor data (temperature and humidity) is read and displayed.
mam_sensor.js: The DHT11 sensor data is read and published to the IOTA Tangle using MAM.
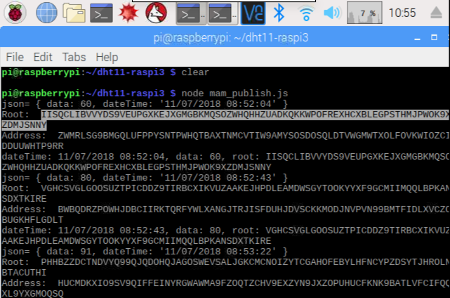
First execute the mam_publish.js to check if you can store data (randomly generated numbers) on the Tangle.
Open a terminal and type: node mam_publish.js
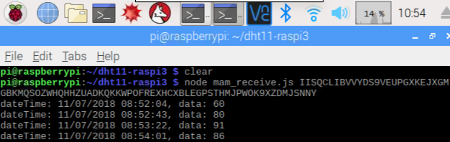
Each stored data has a separate root. Copy a root which will be used in the next step.
Open another terminal and type: node mam_receive.js your_root
The stored data is displayed.
If there are any problems, fix it before you continue with the next step.
Note:
The full node endpoint and sidekey are both hardcoded in the javascript files.
To stop a script from running, press CTRL+Z.
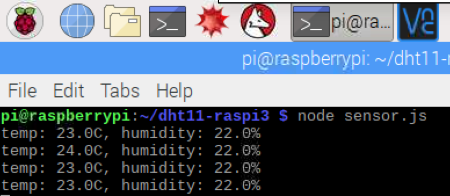
Next execute sensor.js to check if the Raspberry Pi can read temperature and humidity data from the DHT11 sensor module.
Open a terminal and type: node sensor.js
The DHT11 sensor data is displayed.
If you have problems reading the DHT11 sensor data you can enable logging:
Type: cd ~
Type: cd dht11-raspi3
Type: npm uninstall node-dht-sensor
Type: npm install node-dht-sensor --dht_verbose=true
After you have fixed your problem, disable logging:
Type: npm uninstall node-dht-sensor
Type: npm install node-dht-sensor --dht_verbose=false
Make sure the sensor data is displayed before you continue with the last step.
Note:
To stop the script from running, press CTRL+Z.
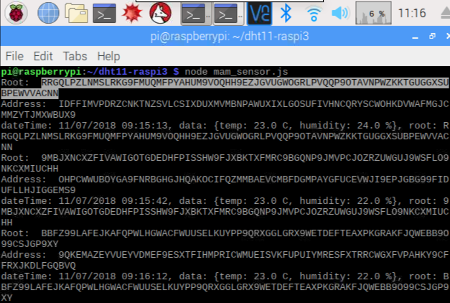
In this final step execute mam_sensor.js. This script will store the temperature and humidity data from the DHT11 sensor module to the Tangle.
Open a terminal and type: node mam_sensor.js
Each stored sensor data has a separate root. Copy a root which will be used in the next step.
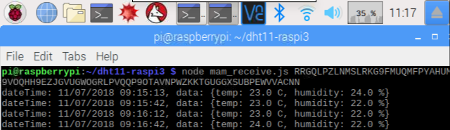
Open another terminal and type: node mam_receive.js your_root
The stored sensor data is displayed.
Note:
The full node endpoint and sidekey are both hardcoded in the javascript files.
To stop a script from running, press CTRL+Z.