Create a teapot with box (teapot5_box.max).
Information
This guide is based on 3D Studio Max 7.
This model will later be exported to an m3g file and will be used to demonstrate
camera movements in space.
Procedure
Step 1: Load the teapot model
- Download teapot4_background.max
See quick guide "Create a teapot with background".
- Start 3D Studio Max 7.
- Load teapot4_background.max, select menu: File | Open
Note: If you see the File Load: Units Mismatch dialog, choose the
option Adopt The File's Unit Scale. This will change your system unit,
so be sure to reset your system unit after completing this quick guide.
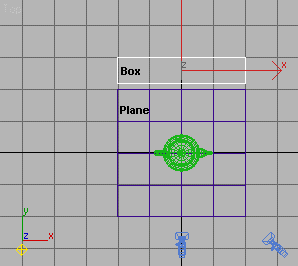
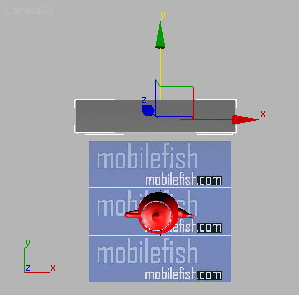
Step 2: Add a box
- Draw an obstacle in the form of a box. Make sure the box does not touch the plane.
If the plane rotates 45 degrees the plane should touch the box.
Step 3: Add a texture
- Download the texture image grid.png (64x64 pixels) to C:\
- Open the Material Editor
 or
press M-key. or
press M-key.
- Select the third sample slot
 . .
If active, it has a white border.
- Goto the Blinn Basic Parameters rollout which contains controls that let you set the texture map.
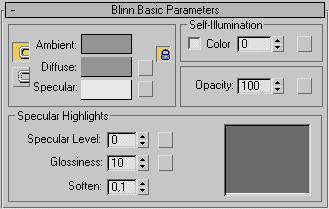
- Click the blank square button
 next to the Diffuse color swatch.
- The Material/Map Browser is opened.
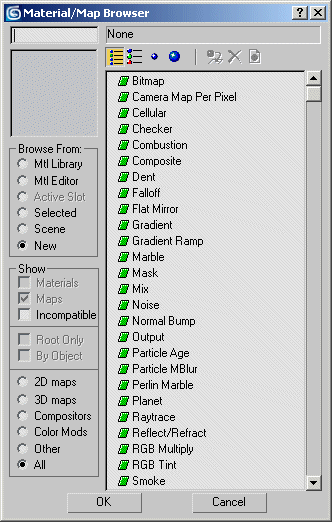
- Choose Bitmap and click OK.
- The "Select Bitmap Image File" dialog opens.
Select the texture grid.png from C:\ folder and click Open.
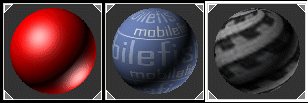
- The texture appears on the sample sphere.
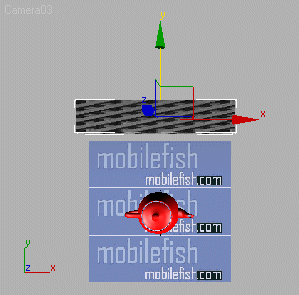
- In a viewport select the Box and in the Material Editor click on
button "Assign material to selection"

- The Box turns gray.
- In the Material Editor click on button "Show Map in Viewport"

- The texture map appears on the surface of the Box.
- In the map name field, below the sample slots, highlight the default name of
"Map #0" (the number can vary), and enter
"Grid map".
- In the Material Editor click on button "Go to Parent"

- In the material name field, below the sample slots, highlight the default name of
"Default #0" (the number can vary), and enter
"Grid material".
- Close the Material Editor.
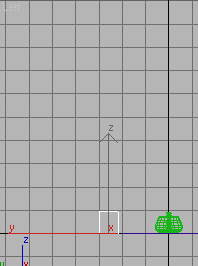
Step 4: Move camera 03
- In the toolbar, change the Reference Coordinate System from View to World.

- Press key H and select Camera03 and press the Select and Move button
 . .
- The Coordinate Display area (see bottom of the window) now shows Camera03 position.
To position Camera03 directly above the teapot, enter the following values:
X=0,0 | Y=0,0 | Z=800,0

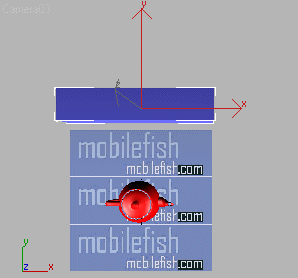
Step 5: Render scene
- Select the Perspective viewport and press the C on the keyboard to change into the Camera viewport.
- Because more then 1 camera is added to the scene, the select camera window is displayed. Select Camera03.
- Press the Quick Render button
 (or F9). (or F9).
- You should see the following:
Step 6: Save model
- Select menu: File | Save as.
- Save the model as teapot5_box.max.
|